An 1-Hour Trip To Tokyo

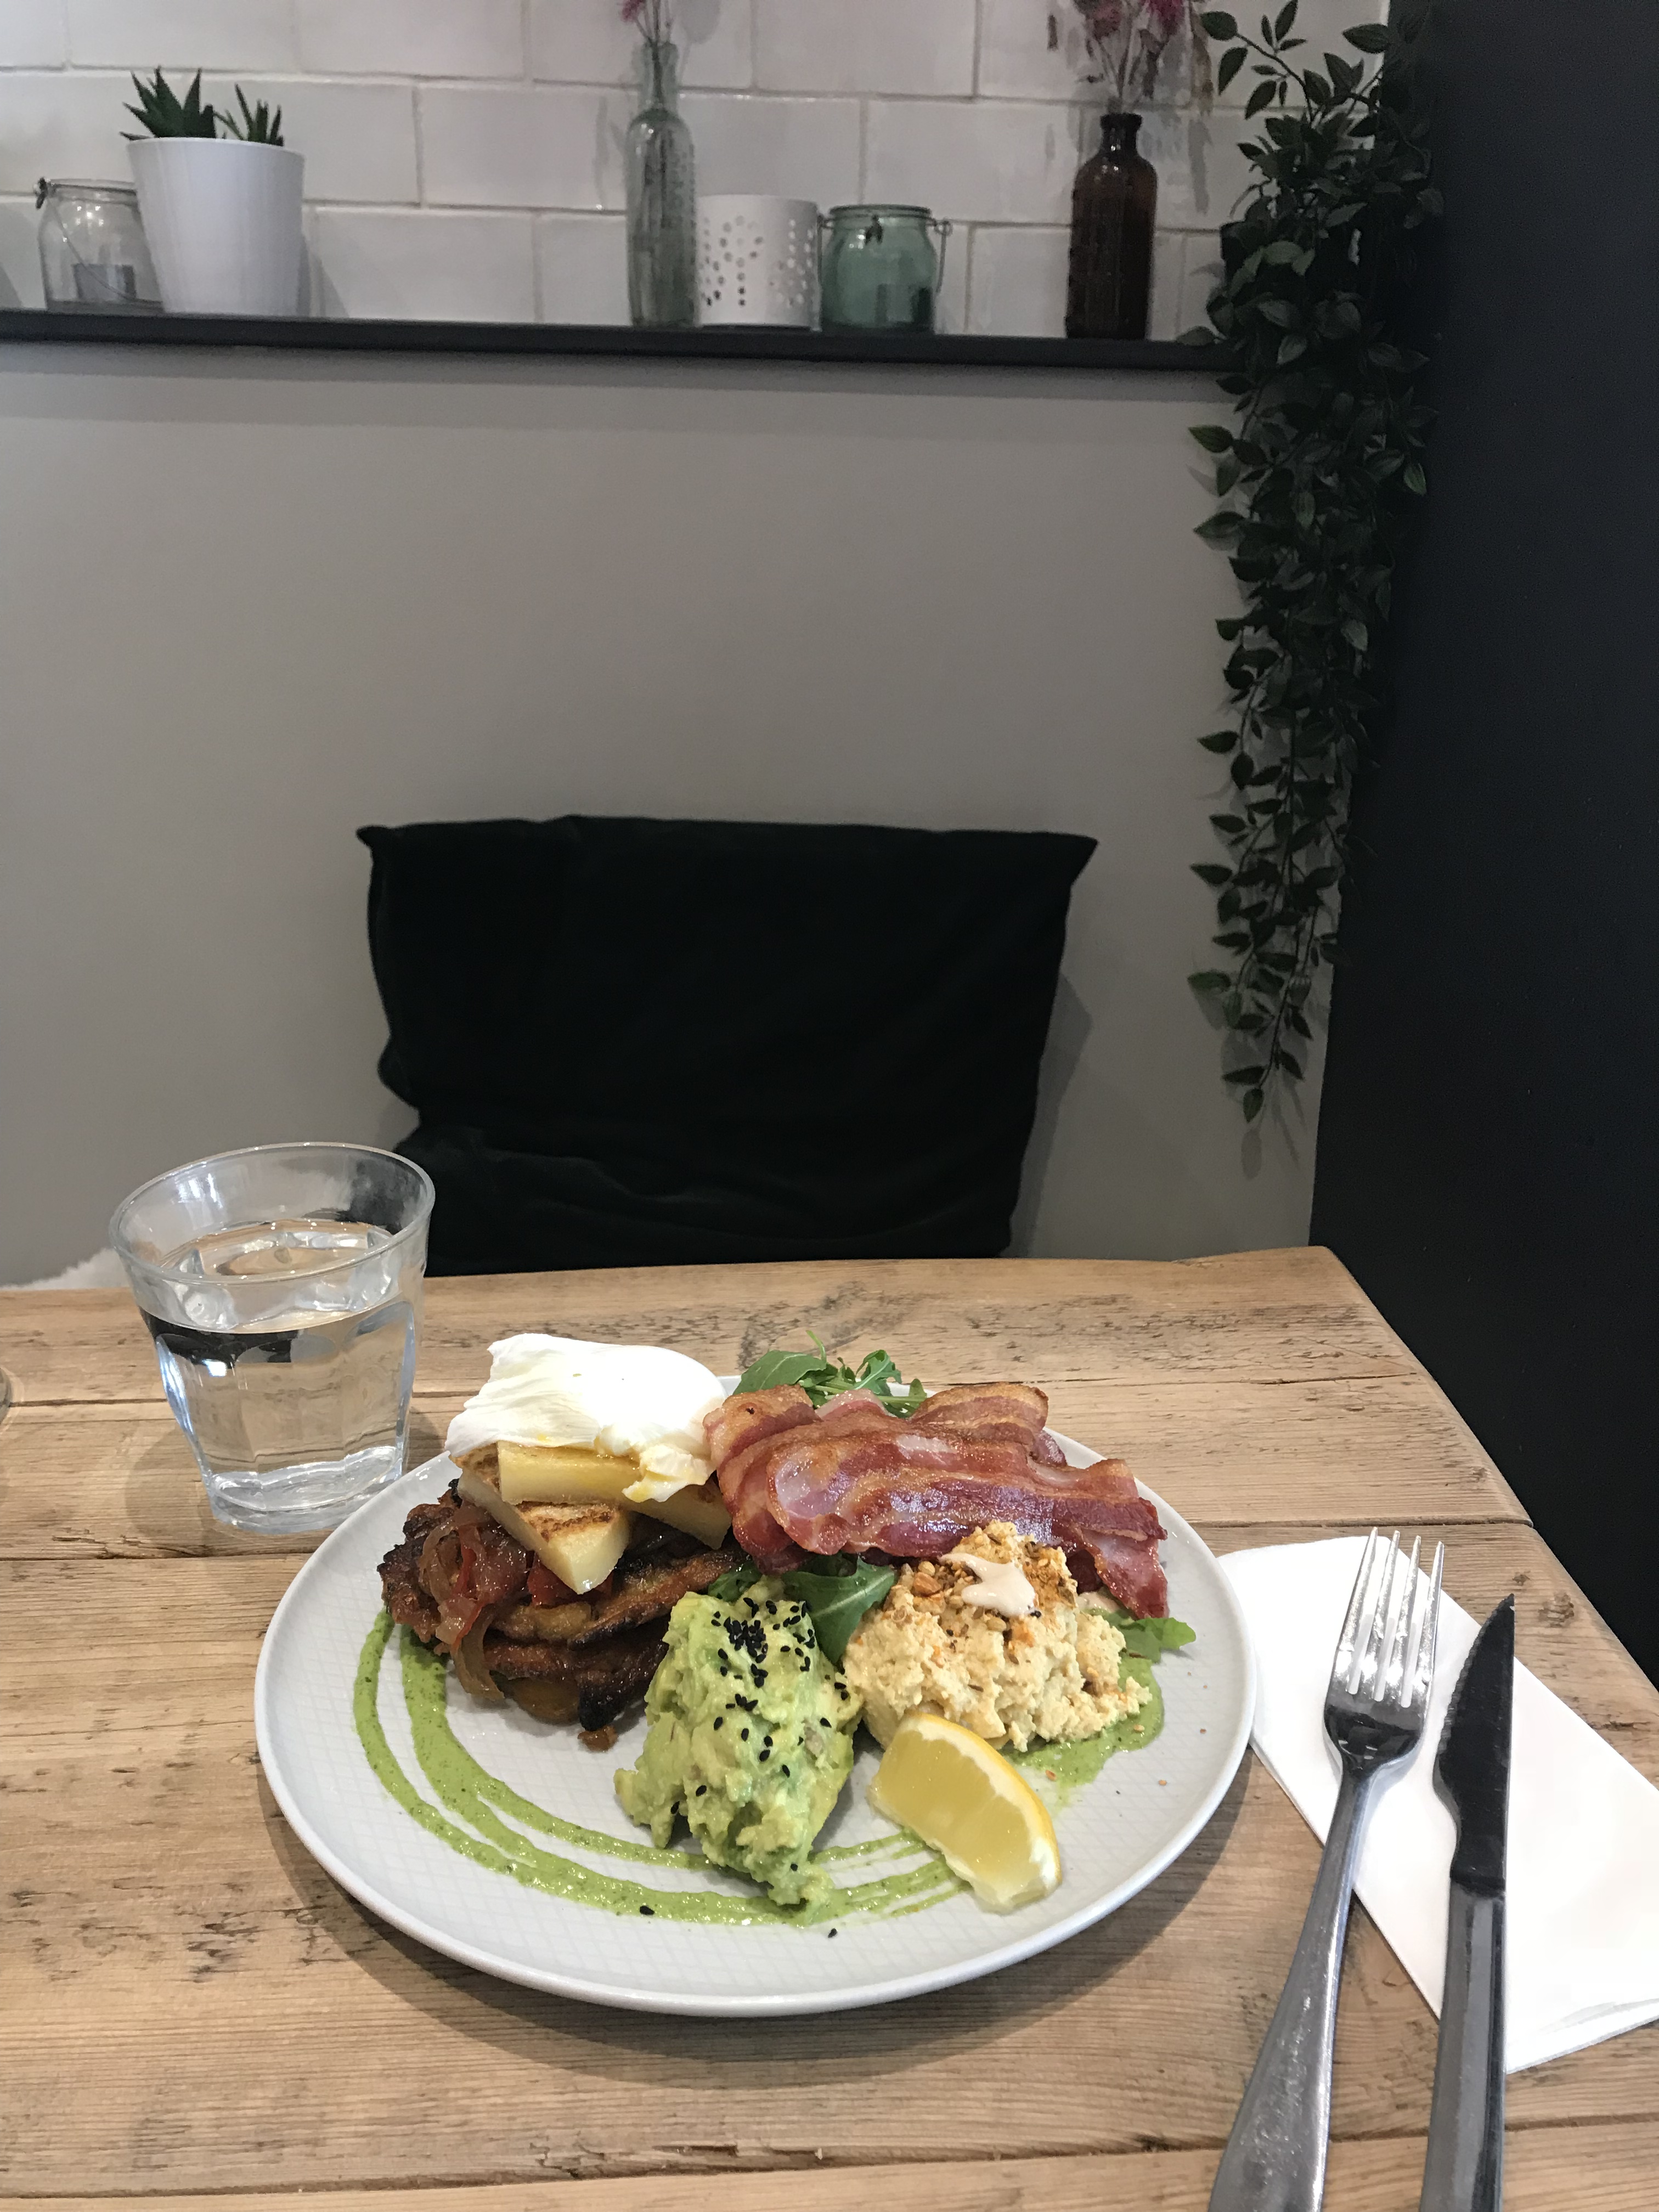
After a few days of less than ideal weather, London finally welcomed back the sun. In fact it was so hot today, I had been constantly filling myself up with cold drinks and ice creams! 😅

Despite the heat in the underground threatened to melt me alive, I continued my search for good food and arrived in Eat Tokyo. Those of you who lived in the city might be somewhat familiar with it as they do have a handful of branches dotted around London. Japanese cuisine is definitely one my favourites to eat. Before it has become such a mainstream cuisine internationally, it used to be quite a high end thing to eat back in the days. During my childhood whilst growing up in Hong Kong, my family and I used to spend ages queueing to eat in Japanese restaurants. It was quite a luxurious treat to me back then!

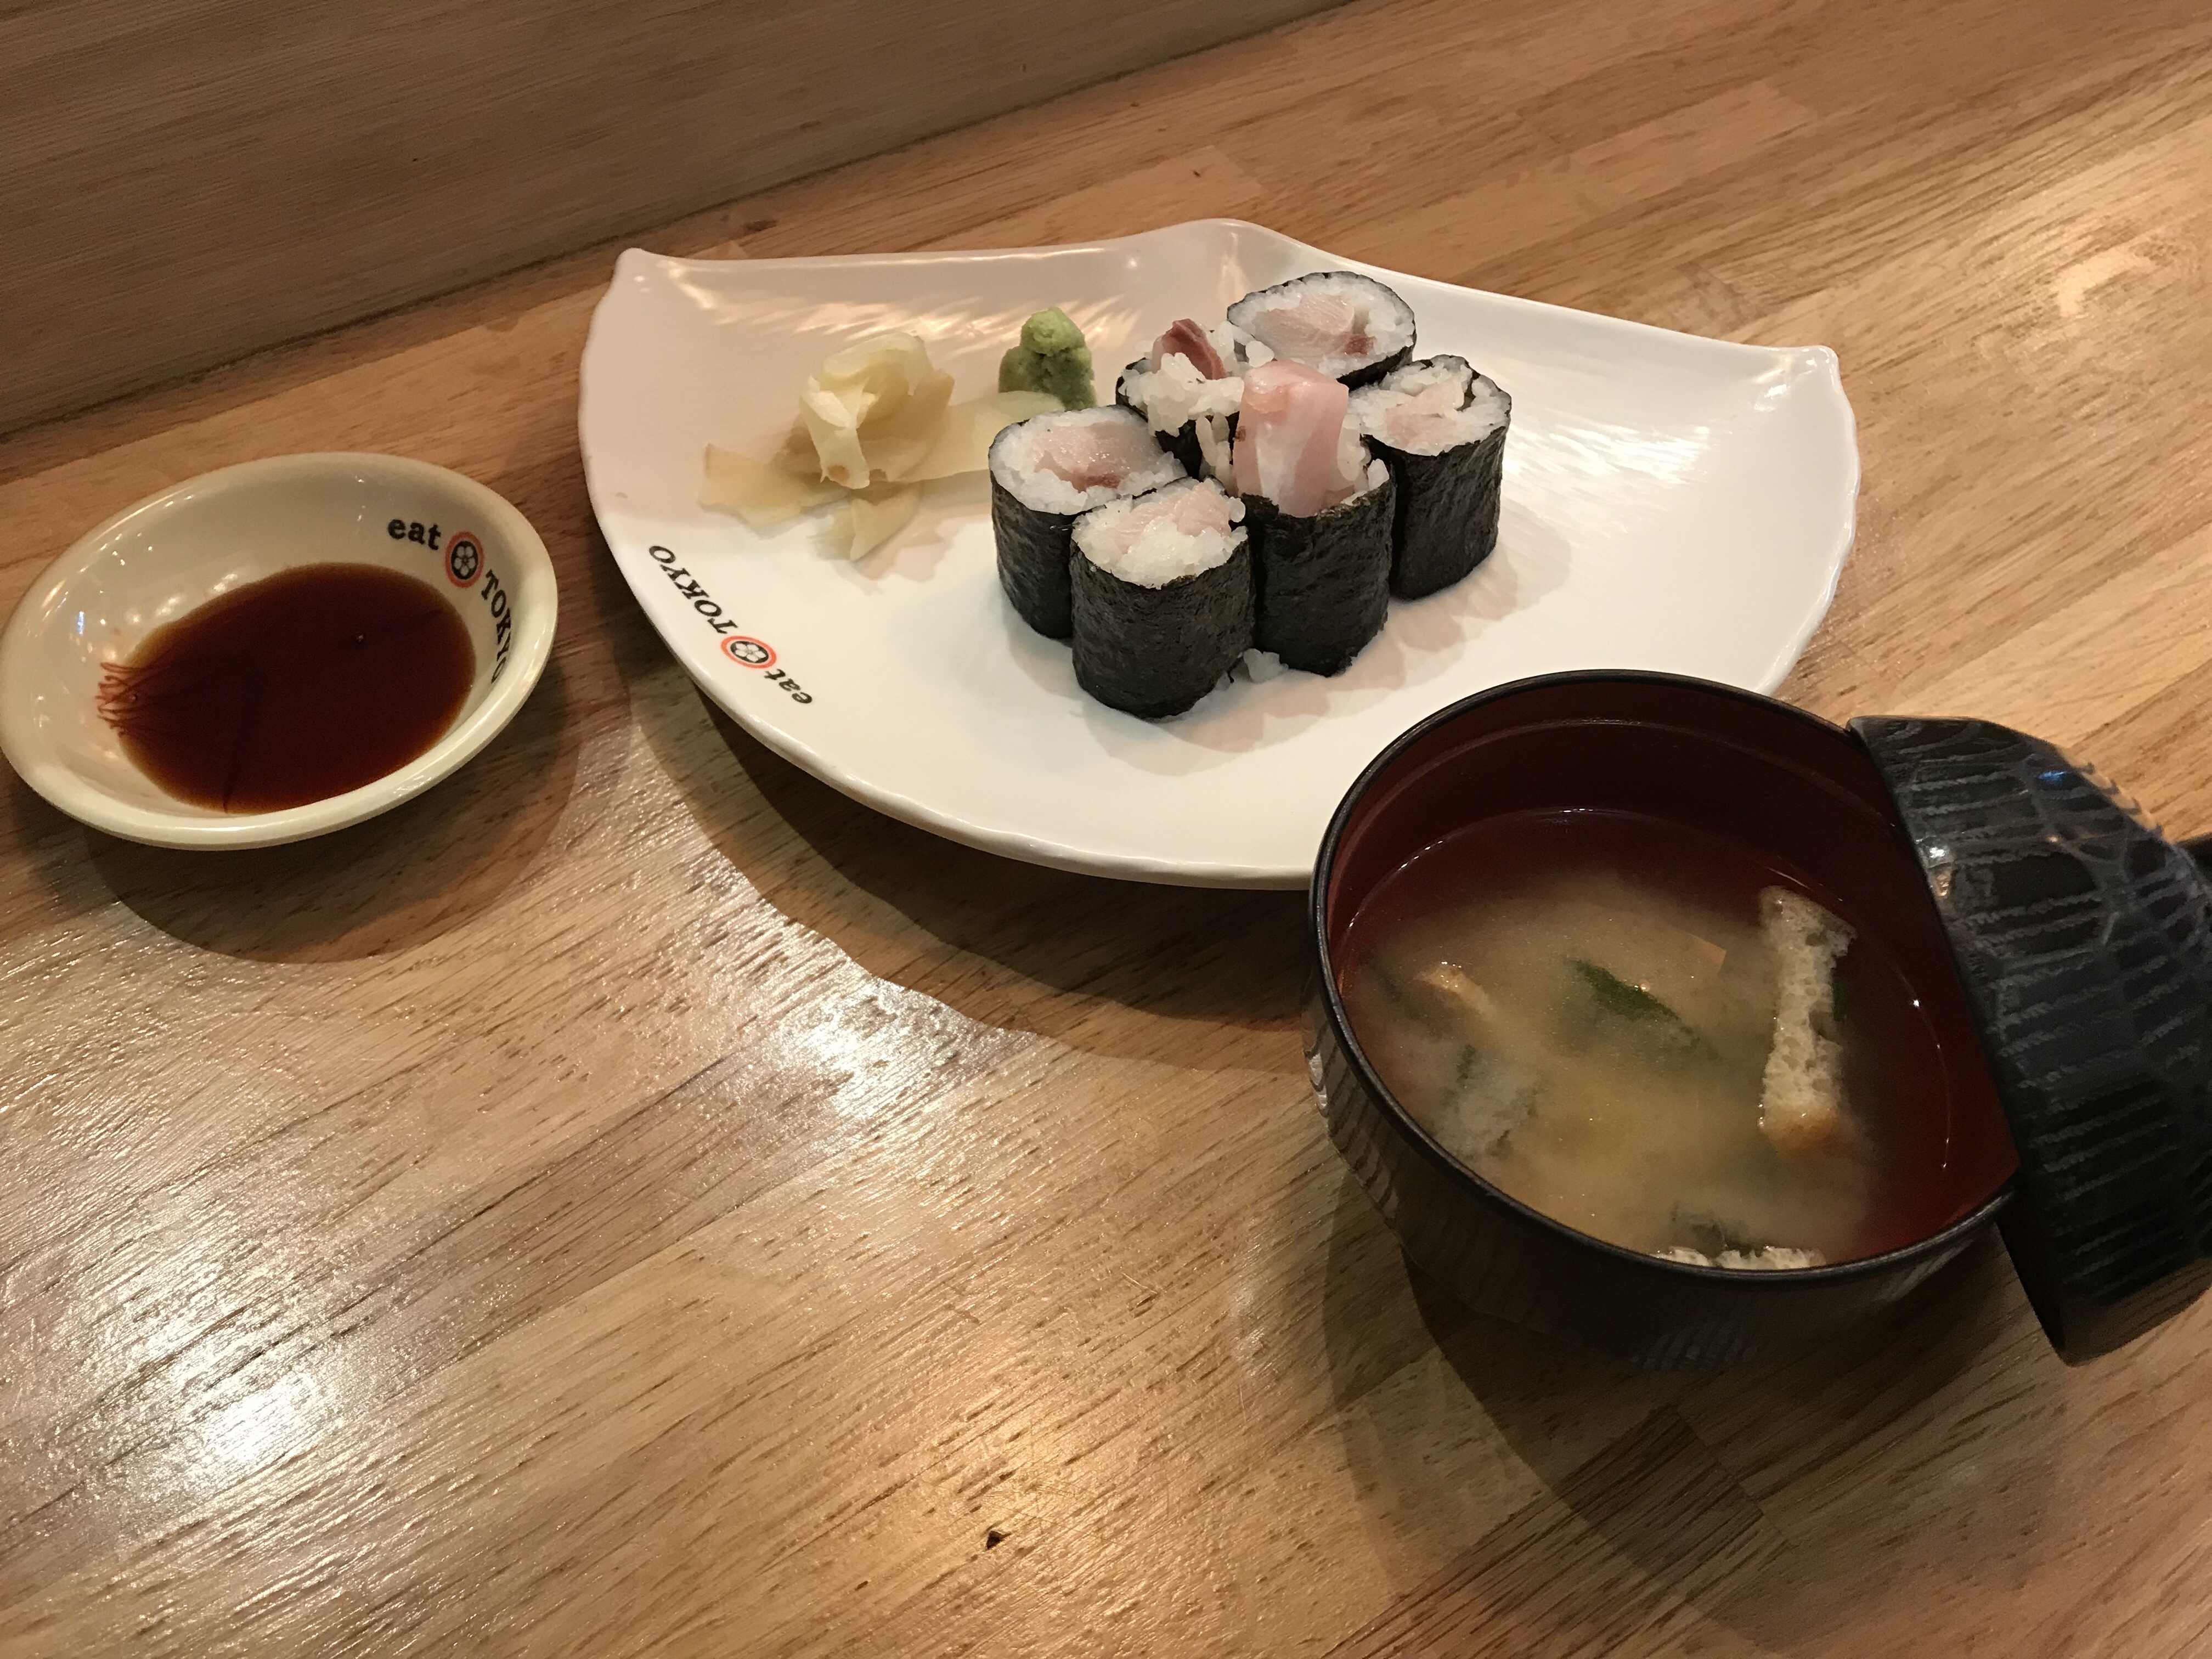
The one thing I like about Eat Tokyo is that, besides big, bold flavours, they serve large portions for around the same price you will get in similar restaurants. My first dish was a yellowtail sushi. Yellowtail is one of the best fish to eat raw in my opinion. It has a very tender and light texture, and pairs very well with the pickled ginger that accompanied the sushi. I must confess I have an obsession with pickled ginger, which my grandmother used to make regularly when she was still with us.

The second dish was a foie gras with daikon. Most people when they think of foie gras, their mind immediately jump to French cuisine but it’s actually also a fairly commonly used ingredient in Japanese cuisine as well. Daikon, for those of you who are not sure, is a Japanese radish. This radish is famous for its juiciness and sweetness, and it is best served after cooking for a long time in a broth or sauce, where the daikon will become very soft and flavourful. (My family is obsessed with daikon and used to fight over who gets to eat the last pieces!) In this dish, the richness of the foie gras contrasts very well with the lightness of the daikon, though I do think the sauce is slightly on the heavy side.

The last dish was what they called a katsu sara, which to me was a katsudon with rice served separately. Katsudon is a classic Japanese dish consisting of breaded pork cutlets cooked in eggs, vegetables and a sweet soy sauce, and then served over a bowl of rice. It is also an old favourite of mine since I was young. I had so many happy memories eating this dish as a kid.

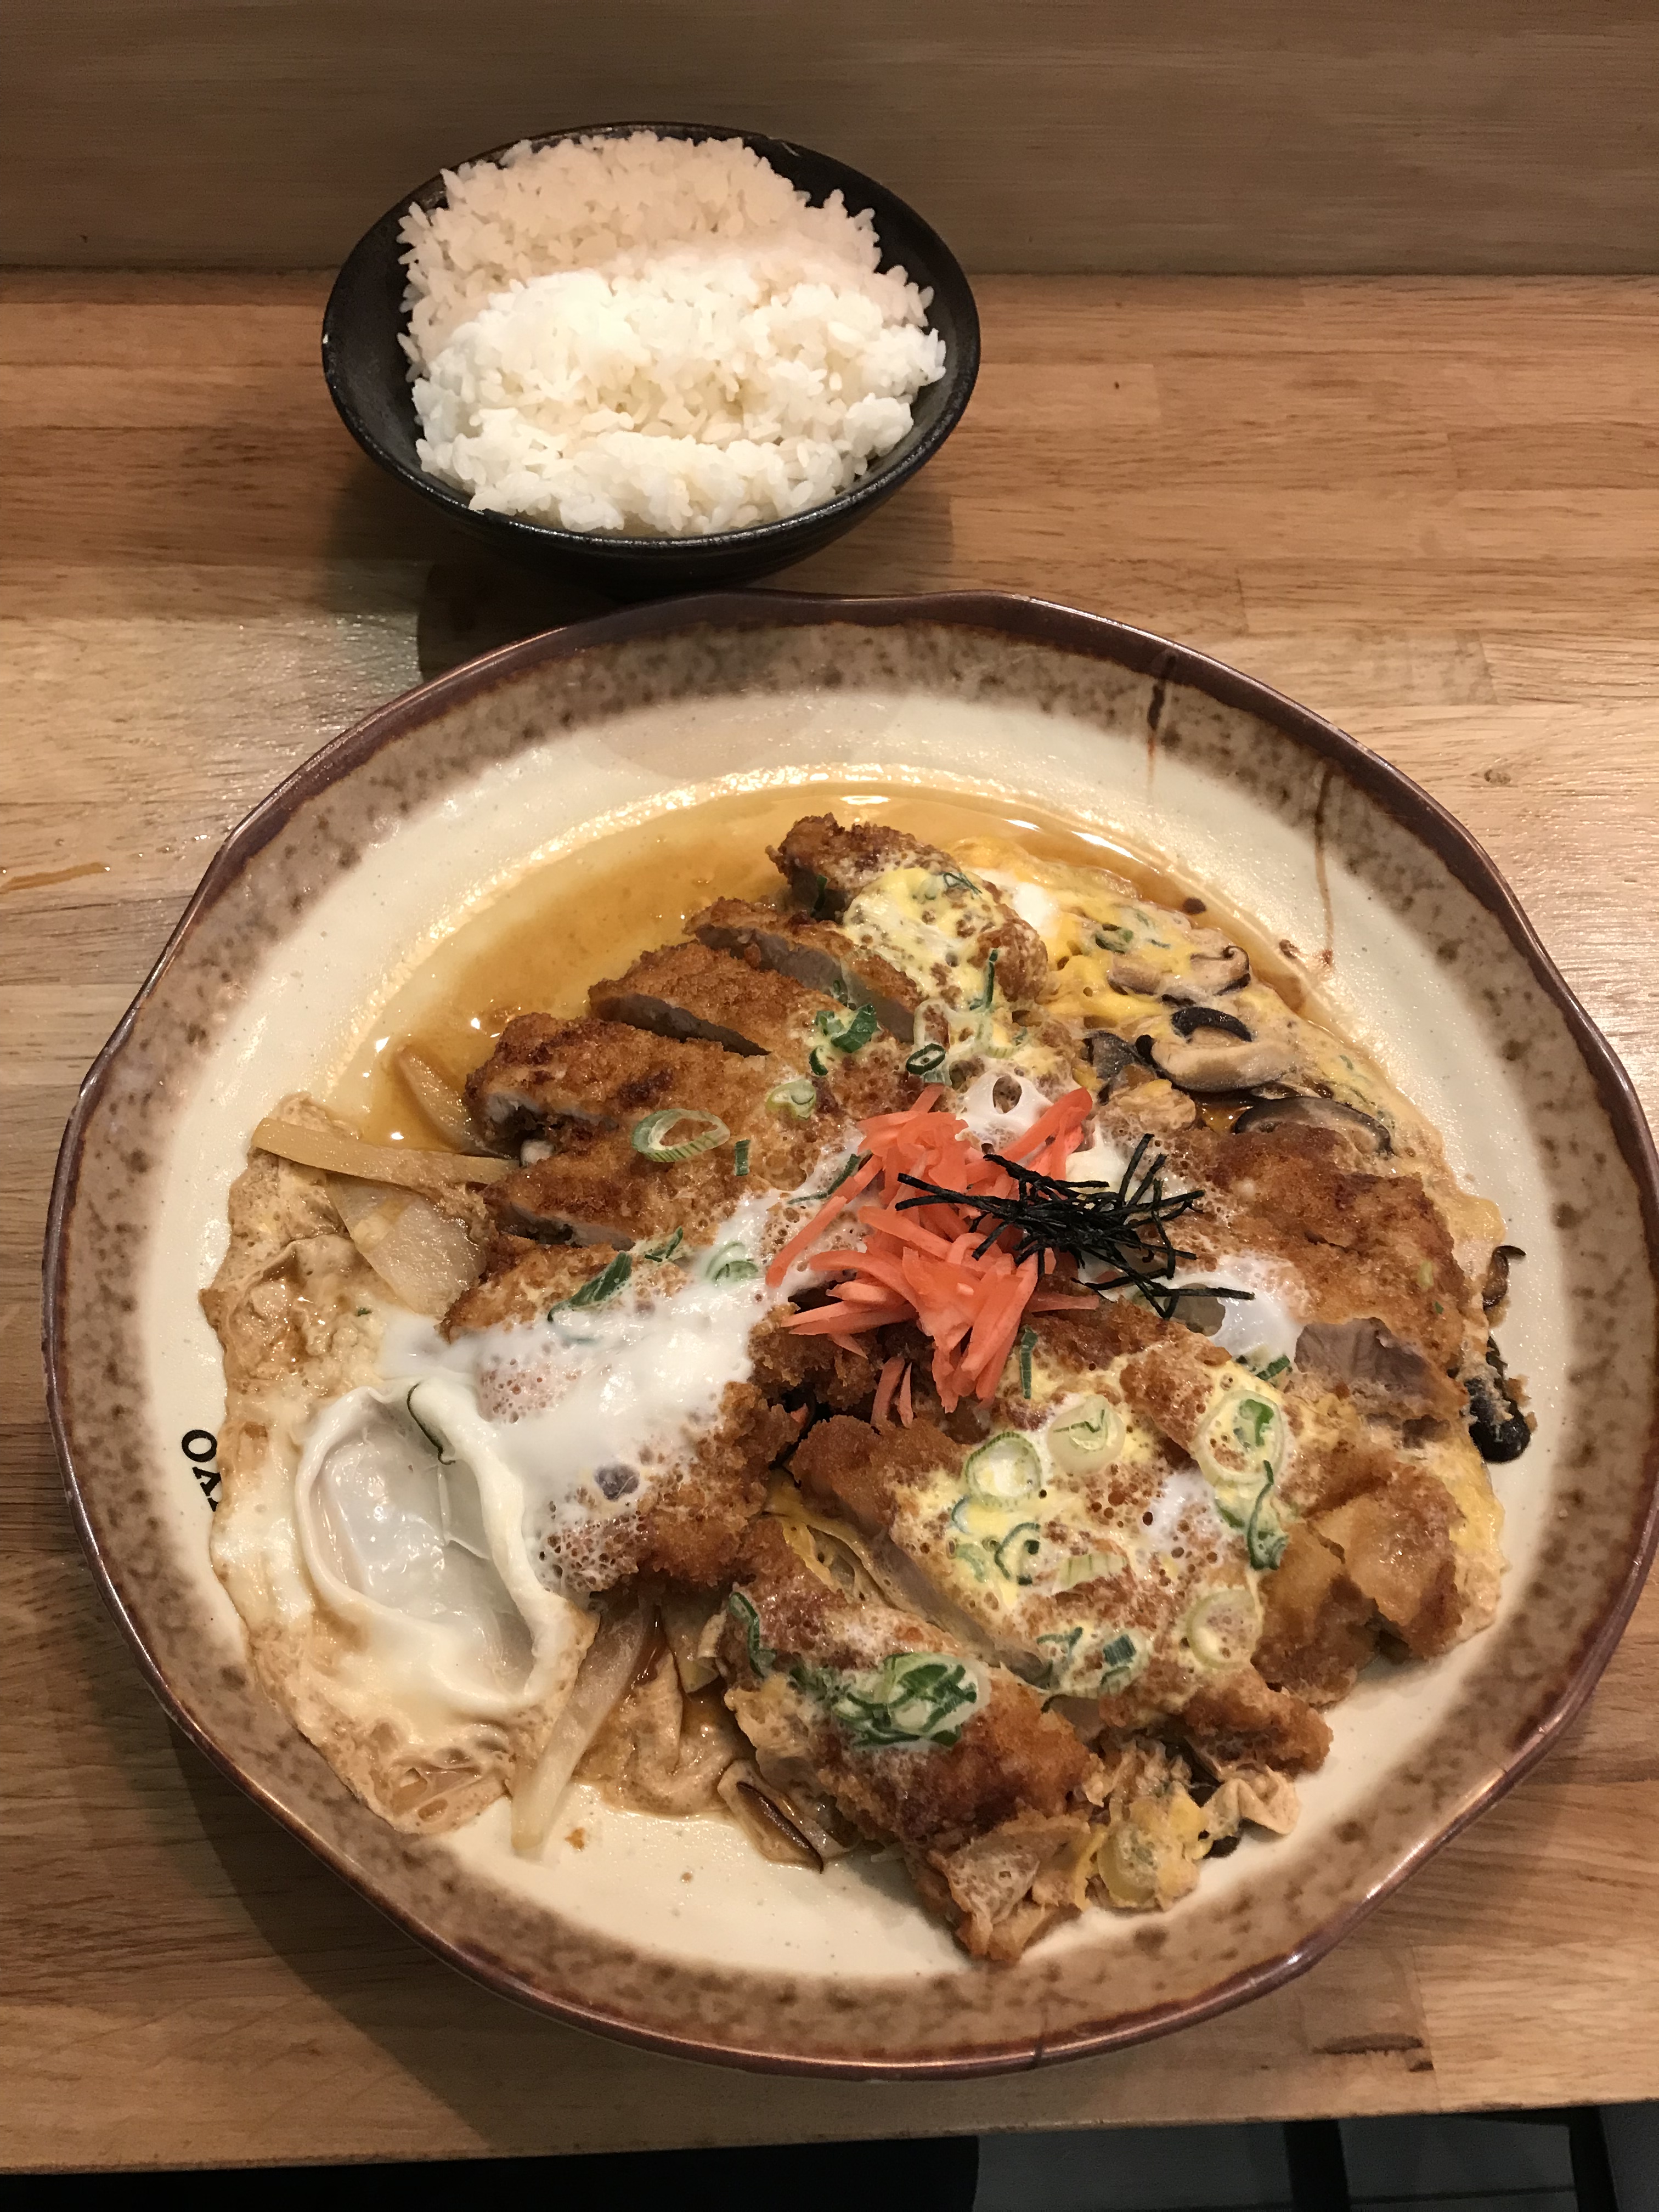
I wasn’t able to finish it however, so I got a doggy bag with me when I left. At least that’s my lunch set for tomorrow!

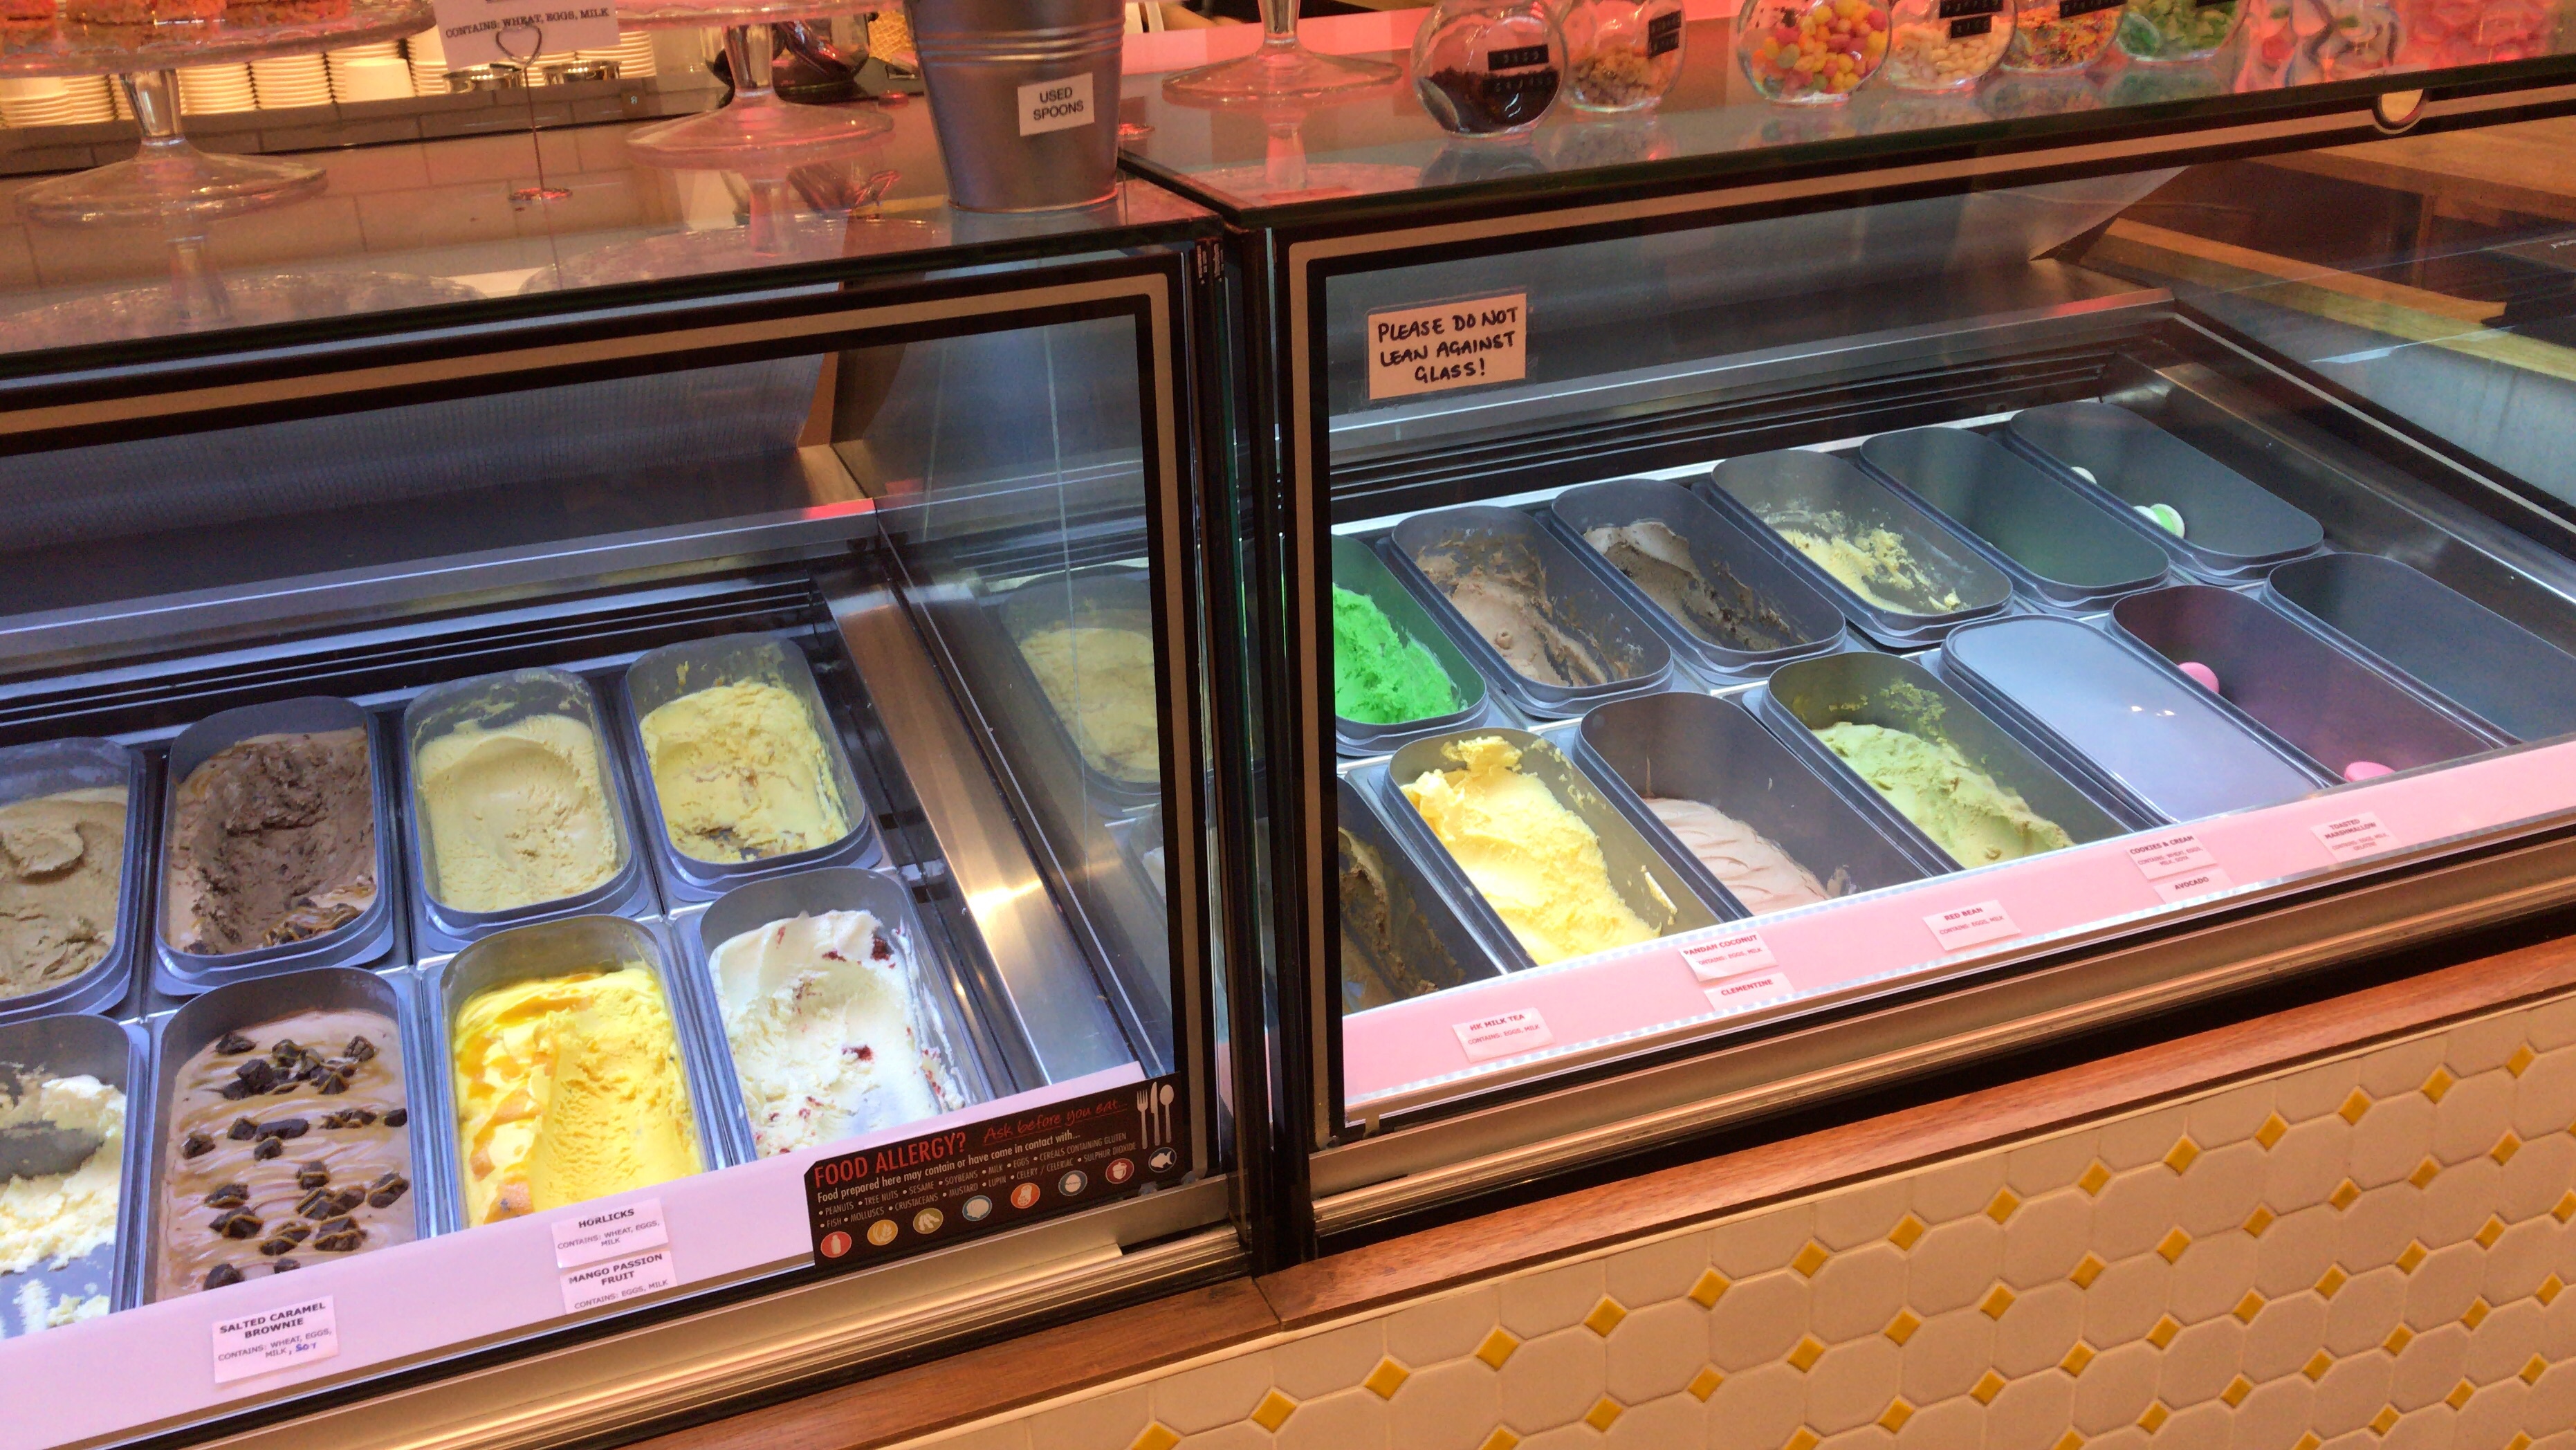
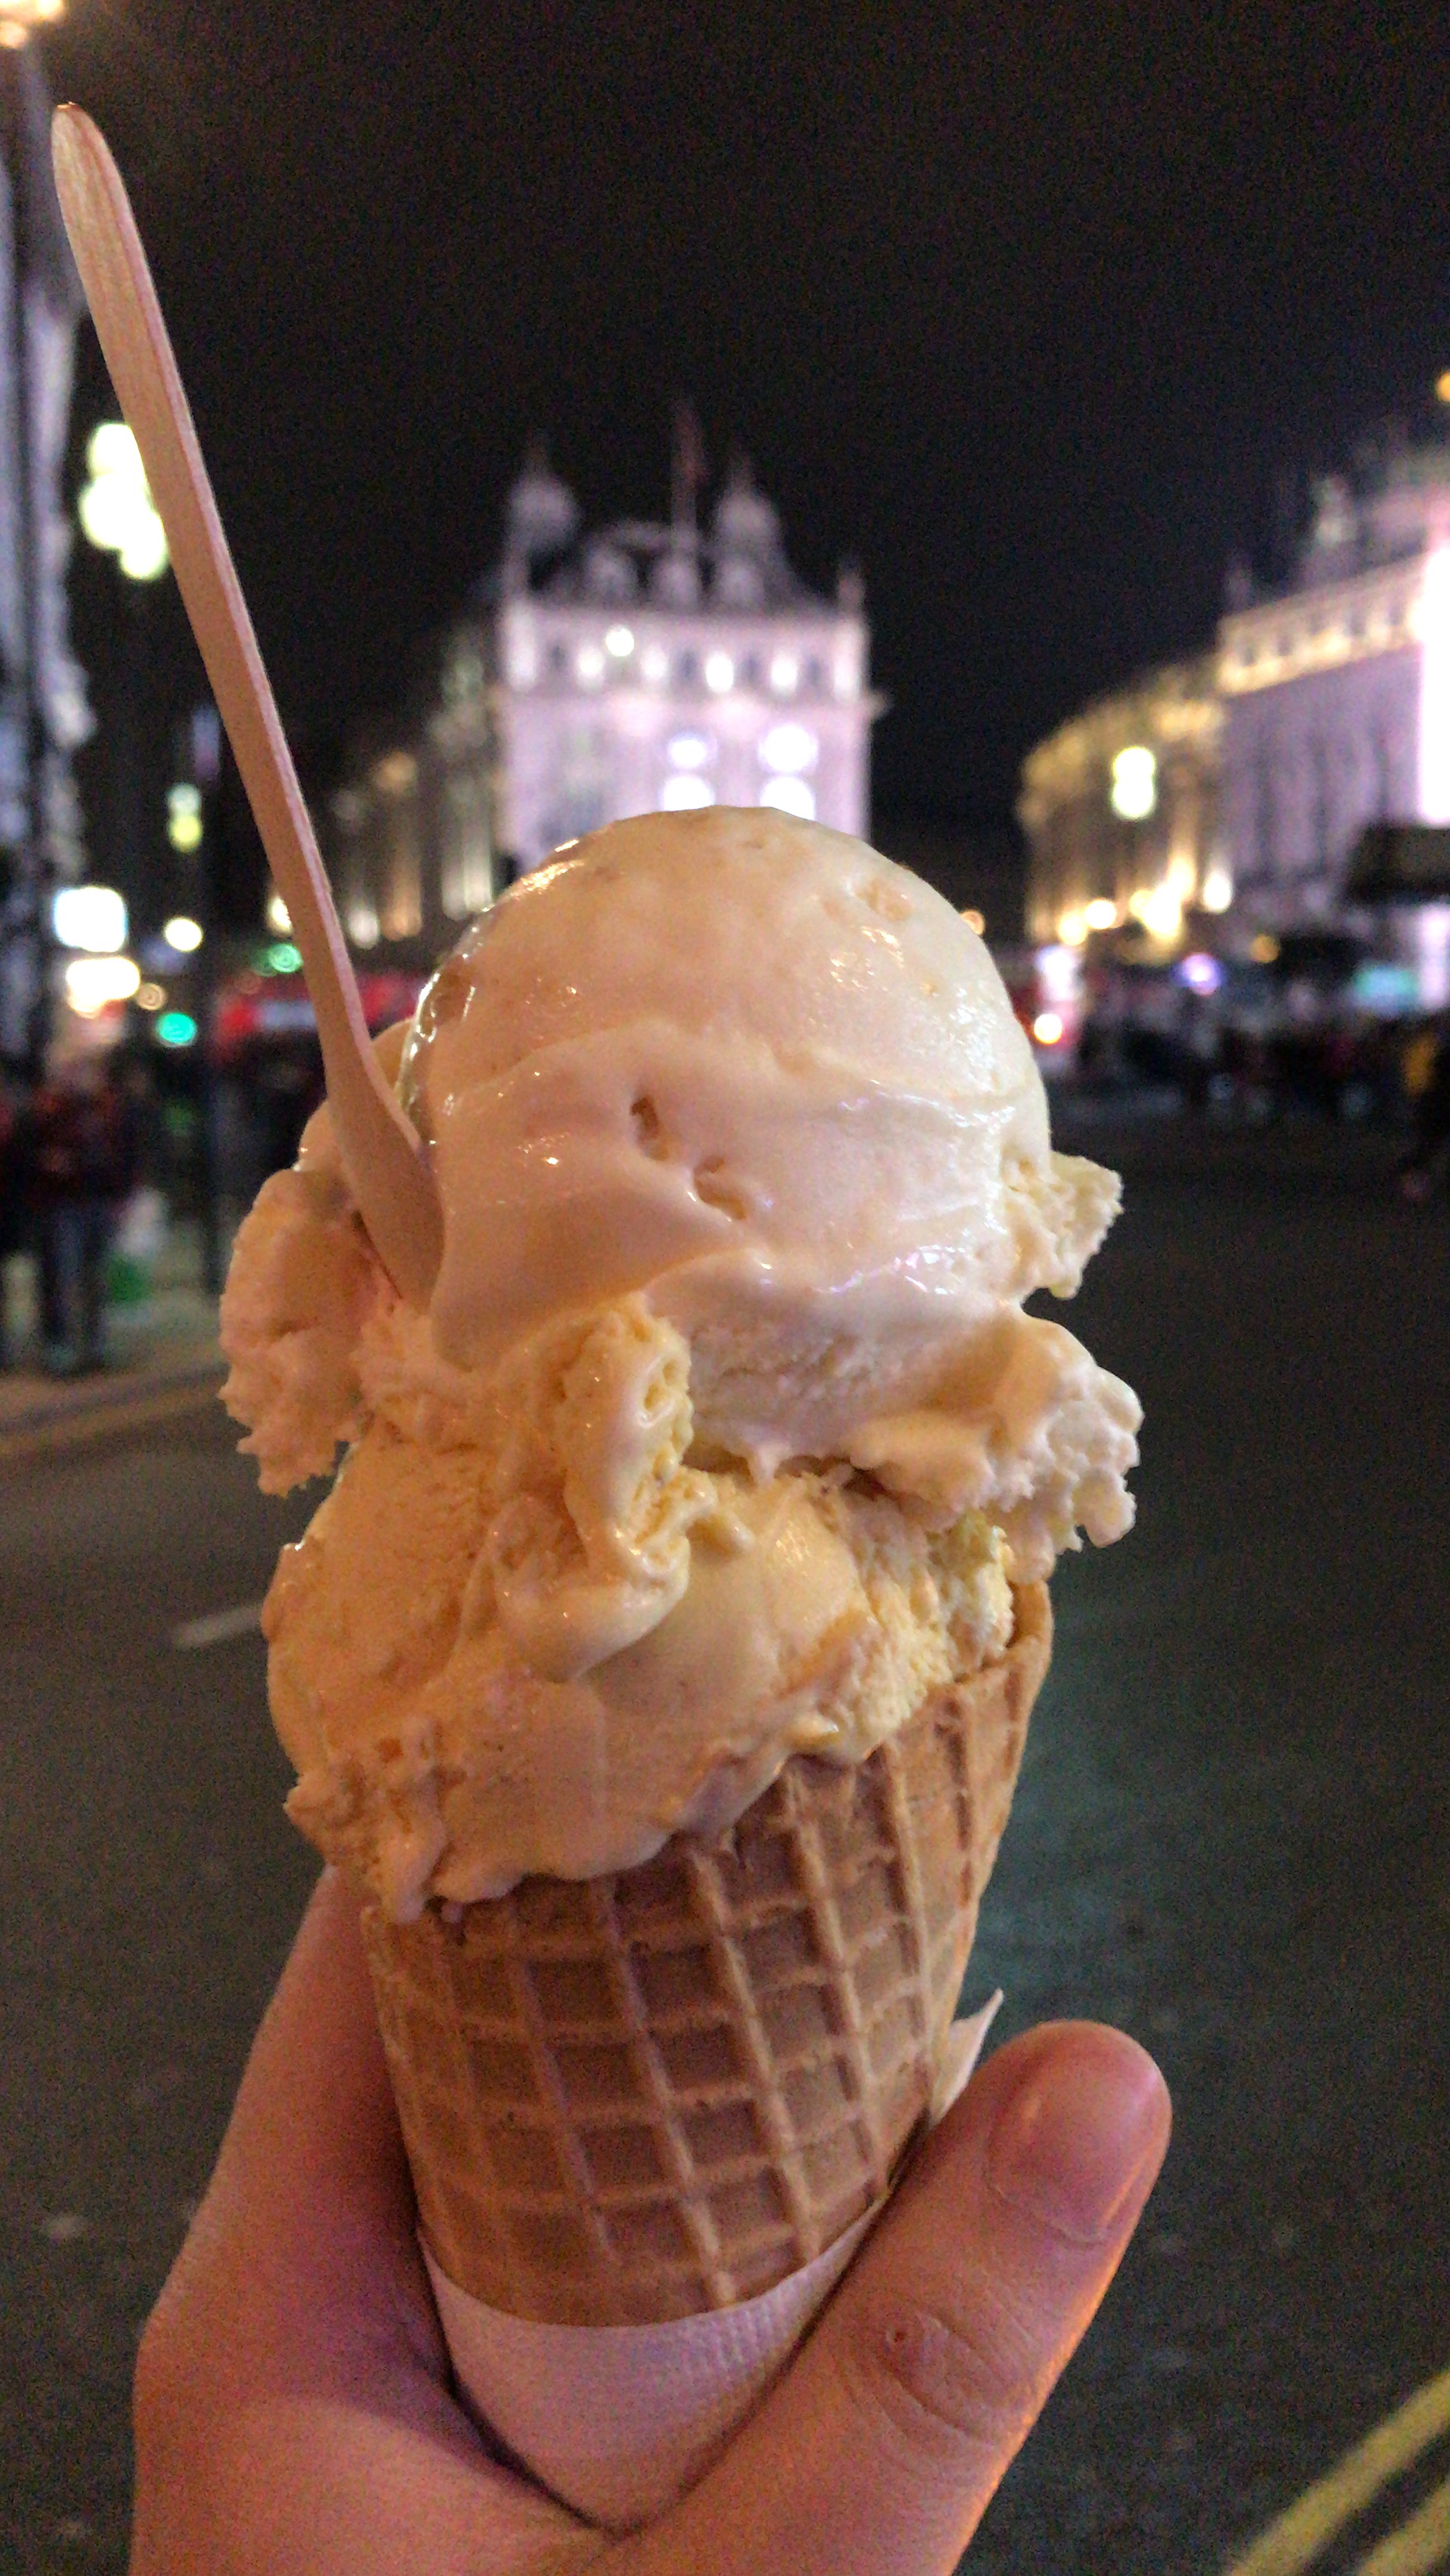
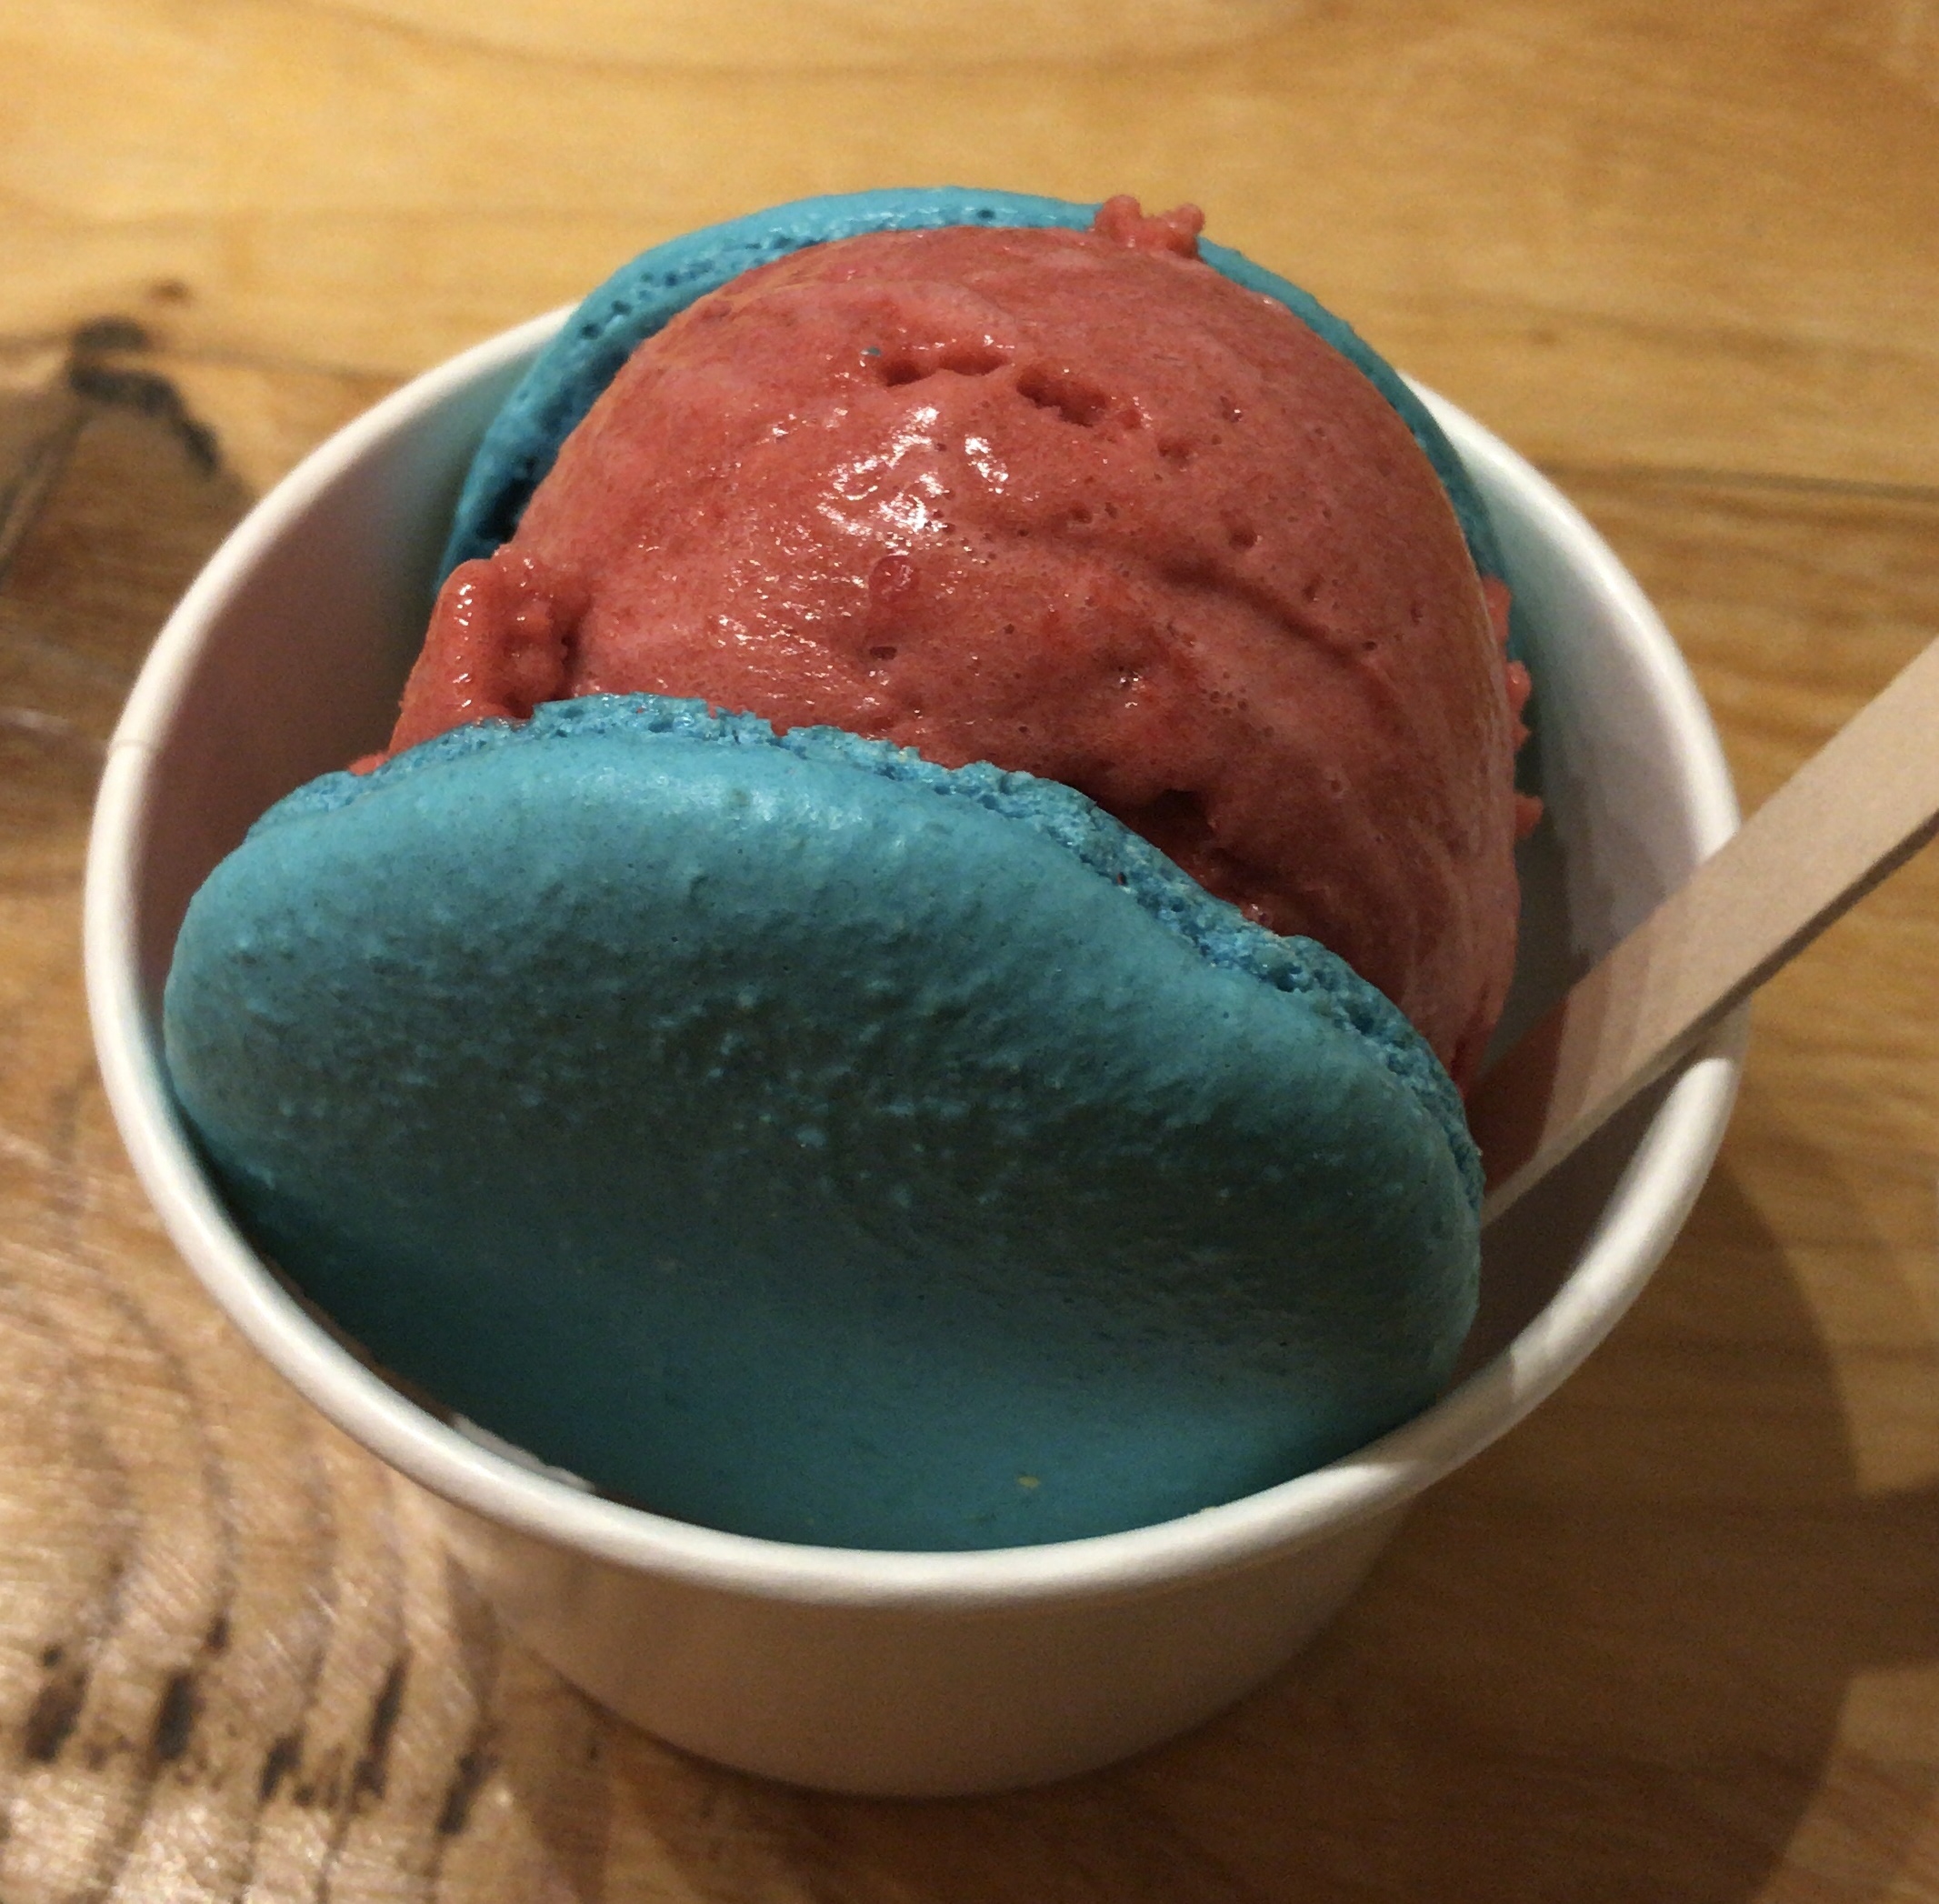
(P.S. As if it wasn’t enough to fill me up already, I also went for a gelato afterwards…. 😂 You heard of the saying that “you always have room for desserts”?)

Anyway, you can NEVER have too much ice creams!

Red, Orange, Yellow, Green and…

As the sequel to my post on the food market earlier, for my late night snack, I have made a focaccia using the beautiful tomatoes I bought from the market today. The tomatoes not only gave the bread a great appearance in colours, but also delicious flavours. Good for supper, lunch or breakfast even!

The stall owners told me the best way to eat these tomatoes is to eat them raw with salt and drizzles of olive oil. Sometimes, simplicity is indeed the best! Not sure what they will think of my focaccia haha?

The recipe I used is inspired by the focaccia recipe in ‘How To Make Bread’ by Emmanuel Hadjiandreou. (I found this book when I was visiting a book store one Friday night after work. It is a great read for those of you who may be interested in bread making!)

Rainbow Tomatoes and Cheese Focaccia

Quantity: 1 focaccia

Ingredients:

200g / 1½ cups strong white/bread flour

4g / ¾ tsp salt

1g / ¼ tsp dried/active dry yeast

150g / â…” cup warm water

50g / 3 tbsp garlic-infused olive oil

Cherry tomatoes, multiple colours

Pecorino/Parmesan cheese, grated

Method:

  1. Mix the flour and salt together in a bowl and set aside.
  2. Place the yeast in a large mixing bowl. Add the warm water and stir until the yeast has dissolved.
  3. Add the flour mixture to the yeast mixture. Mix until you get a quite sticky dough.
  4. Place one third of the olive oil in another large bowl and place the dough in it. Cover it and let it rest for 1 hour.
  5. Gently fold the dough twice and cover again for another 1 hour.
  6. Repeat step 5 for a total of three times. Add a little olive oil each time before resting to allow the dough not to stick too much to the bowl. By the end, the dough should be well-risen and bubbly.
  7. Line a baking tray with baking paper. Gently transfer the dough to the tray and avoid damaging any air bubbles. Cover and let it rest for 10 minutes.
  8. Flatten and widen the dough into a rough rectangle using your fingertips to push it out. Cover and let rest for another 10 minutes.
  9. Chop the cherry tomatoes in halves and arrange them on top of the focaccia. Sprinkle the cheese and season with salt. Drizzle olive oil lightly over the toppings.
  10. Cover the focaccia and let it rise for about 20 minutes, or until doubled in size.
  11. While waiting for it to finish proofing, preheat the oven to 240C/475F/Gas 9.
  12. Bake the focaccia for 15-20 minutes, or until golden brown and the focaccia makes a hollow sound when tap at the bottom. (Unlike most other breads, you do not need to place a cupful of water at the bottom of the oven to create steam as this focaccia dough is moist enough to create steam on its own.)
  13. Once the bread is ready, set it on a wire rack to cool.

A Story in the Food Market

As my break from work is approaching to its end, I decided to visit the famous Borough Market today. The market is well-known for being one of the largest and oldest food markets in London, and also for its diverse array of speciality food, including hot, cooked food and some very luxurious choices.

(Speaking of which, I did buy some very nice multi-coloured tomatoes to take home from this stall. More on that later!)

Food market always reminds me of my hometown in Hong Kong. Both are buzzing with people and full of energy. One of my favourite things to do though, obviously, it’s try all the different kinds of food available here! On a side note, make sure to have some cash with you. Not all of the stalls here accept card payments. Despite having been here before, I still managed to bring only changes and ended up having to go outside to get cash in a bank. (Only to later find out there was a cash point inside the market a few feet away from where I was standing! 😓)

Some of the stalls I had previously tried before, so I decided to experiment more today and somehow ended up heading down a seafood route. My first stop was something very British – Fish & Chips! The place was apparently award winning and had quite a queue running down in front. (Mind you pretty much every stalls here have long queues…)

The chips were great, though personally I prefer a crispy batter on the fish. I had a hungry child sitting next to me that was waiting for his mother to get their food, so I ended up sharing one of my chips with him. (Gave him the smallest piece, how generous of me haha!) The lady next to them though offered him all her leftovers! 😂

My next stop was the seafood stalls on the other side of the market. One of my favourite things to eat there has always been the grilled Dorset scallops sprinkled with crispy bacon bits. This is something I always eat whenever I am here.

To finish off, I decided to visit the seafood stall next to it, served by two very cheeky, charming lads. We ended up talking about drinking and heavy night outs. (Swear they were flirting with all the customers haha!)

Now, I am not a huge fan of raw seafood, however these oysters were so sweet and tasty, I actually wanted to go back for more! I ordered three types of oysters: Utah beach, Ostra Regal and the last one I can’t remember now… 😅 I couldn’t tell the differences between them anyway, but they were all delicious!

Facing My Macaron-er Fear

Everyone has a fear. Sounds like something from a horror movie, right? (Not that I would know ’cause I refuse to watch horror movies most times haha.) But, to my fellow cooks and bakers out there, is there a dish that no matter how many times you tried and tried to perfect, it still seems to remain the bane of your life? Your ultimate culinary nemesis? The Nightmare on Elm Street that keeps waking you up? Well, for me, that thing is macaron.

I had my fair share of failures when it comes to this little, adorable French dessert. Cracked top, footless, underbaked, and even macarons as flat as pancakes. For a period of time, I even tried to avoid making them altogether as I can’t stand the thought of it! However, yesterday I decided to face my fear of macarons once again. The result? Three trays of macarons that have almost all cracked! 😭 (I think it’s to do with my oven temperature being too hot. Though because I don’t have a conventional oven at home, it’s hard to adjust accordingly… More on that later.)

Luckily, I still managed to salvage a few. The filling is a dark chocolate ganache with a strawberry jam centre.

They are not perfect, but nonetheless, they are still miles better than the ones I used to make years ago. The recipe I used is by Cupcake Jemma. And quite honestly, having tried quite a few recipes, it’s by far the best one I discovered. I would really recommend it to those of you who are interested in making macarons. See the link of her YouTube video here: https://m.youtube.com/watch?v=uWSOJMcvDec

Here are a few tips I have picked up that I would suggest to pay close attention to:

1. ALWAYS sieve the ground almond and icing sugar to avoid a lumpy surface.

2. This recipe uses an Italian meringue, which I think it’s much better than recipes using French meringue. Supposedly, it gives the macarons more stability. Regardless with the science behind it, I can tell you I have had much higher success rate with this method.

3. Take great care when you fold the meringue into the ground almond mixture. Over-mixing and under-mixing can become big problems for your macarons.

4. Make sure you leave enough rooms when you are piping your macaron batter. Reason see below.

5. Tap your baking tray on the surface to let out air bubbles. Because the macarons are likely to spread a bit as you tap the tray, it’s important you leave rooms when piping. I particularly like Jemma’s idea of using a cocktail stick to pop any air bubbles lurking inside the macarons. It ensures a smooth surface.

6. Make sure you leave the macarons to dry so a skin is formed on top. (Test it by the finger method mentioned in the video.) This ensures the distinctive feet of the macarons will be formed during baking. As they mentioned, it does depend on the environment you are in. In UK, it’s really quick because we have a very dry climate. When I was visiting Hong Kong, it sometimes took over an hour even with air conditioning!

7. The oven temperature is very important (as I have painfully learned). Oven too hot will result in cracked and browned tops, whereas oven too cold will result in footless macarons.

I have a small oven at home, so adjusting the temperature has proven to be difficult. I have tried to bake the macarons at the bottom of the oven and placed another tray on the rack above to block out heat coming from the top, but neither seems to result in much changes, so would love to hear any suggestions or advices on that.

Do you have any tips of making macarons? What is your biggest cooking/baking fear? Let me know in the comments!

It’s NEVER Too Cold For Ice Cream

Remember the iconic scene in Roman Holiday when Audrey Hepburn was eating ice cream on the Spanish Steps? Unlike her though, eating ice cream on a warm, sunny day pose more of a challenge for me thanks to the lovely British weather. (Yes, I am being sarcastic. :p)

As I walked under drizzles of rain, buying groceries in Central London today, I nonetheless paid a visit to my favourite ice cream shop in town. I stumbled across Yolkin one night a couple of months ago when I was wandering around near Chinatown. Their unique, Asian-inspired flavours are some of the most innovate ideas I’ve seen in ice cream anywhere. Some of my favourites of theirs include egg tart, mango & mochi, white rabbit candy and pocky biscuit sticks, and honestly I have been kept coming back for more ever since my first visit.

They also do the most fabulous macaron ice cream sandwiches.

Here is a link to their Facebook page: https://m.facebook.com/yolkinmacice/?locale2=en_GB

Tell me about your favourite ice cream flavours and desserts in the comments!

The Savouring Breakfast Club

They say breakfast is the most important meal of the day. However, during work days, I always find myself rushing in the morning and skipping breakfasts. So, it is great finally having time to sit down and enjoy a proper, hearty breakfast.

As a kid, I used to enjoy the traditional English breakfast. Big fry up with sausages, bacon, hash brown and baked beans. It sounds delicious, but I found that as I grow older, I have become more intolerant to greasy food in the morning. Therefore, it is nice to see that the food trend is now tending towards more healthy and refreshing options.

Some people would be quick to equate healthy to bland and boring, but I disagree. Salt The Radish does some of the best breakfasts I had with a focus on refreshing ingredients and a wide options for vegetarian and vegan eaters. My favourite is their crispy courgette and sweetcorn fritters, paired with vegan halloumi, rocket, avocado, red pepper jam, poached egg, herby dressing and hummus, topped with streaky bacons. What’s your favourite breakfast to start the day with?

See their website here: http://salttheradish.com

Life Is Like a Box of Chocolates

As the famous quote in Forrest Gump goes, ‘you never know what you’re gonna get’. Life can get tough at times, but those sweetest and happiest moments also sometimes come at the most surprising times. However, one thing for certain is you can never have too much chocolates. This rich and moist chocolate cake covered in velvety chocolate ganache will be a delicious treat at any time you desire. In fact, life should be filled with chocolates!

Chocolate Cake with Chocolate Ganache

Ingredients:

Chocolate Cake:

225g self-rising flour

85g cocoa powder

200g caster sugar

2 eggs

1 tsp baking powder

220ml milk

20ml flavourless oil

1 tsp vanilla extract

60 ml hot water

Chocolate Ganache:

240ml double cream

200g dark chocolate, chopped

20g unsalted butter, softened

Decorations (optional):

Coloured fondant, purple and green

White chocolate, block

Method:

  1. Preheat the oven to 180C/fan 160C/gas 4.
  2. Sieve the flour and cocoa powder into a large bowl.
  3. Add all the other cake ingredients, apart from the hot water, into the flour mixture. Mix until it is well combined.  Then, gradually add in the hot water and mix until smooth.
  4. Grease the cake tin, and pour the cake batter into the tin. Bake the cake for 35-45 minutes, or until a skewer inserted into the centre comes out completely clean. Remove the cake from the oven and leave it to cool in the tin before icing.
  5. To make the chocolate ganache, heat the double cream in a saucepan to boil.
  6. Place the chopped chocolate in a large bowl, then pour the hot cream over the chocolate. Whisk until the mixture is smooth and well combined.
  7. Add the butter to the ganache mixture and whisk until it is fully incorporated.
  8. Leave the ganache to set at room temperature for about 1-2 hours before using it to ice the cake.
  9. Using a peeler, scrape the white chocolate block to create white chocolate shavings. Shape the coloured fondant into flowers and leaves.
  10. Decorate with coloured fondant flowers and white chocolate shavings before serving.

Waking Up with a Spaghetti Brain

It’s Bank Holiday Monday today, which means no waking up altogether, and sleeping until the end of the world! Yet, when I woke up this morning, I was strangely craving for pasta, so I hit up one of my favourite spots in town for lunch.

When I was a teenager, I always imagined pasta as a soggy, bland mess like those I used to be served in school lunches. That was until I discovered fresh pasta a couple of years ago. Once you had a taste of fresh pasta, there is no going back from there! Pasta Remoli does some of my most favourite pasta dishes, with their lobster linguine being one of my all time favourite (sadly they don’t have it in store today :/). All it takes is a bowl of pasta to cure my “spaghetti brain” for today!

What is your favourite pasta dish?

Looking For a Place in the Sun

The sun might have gone and rain is falling, but the picnic is still very much going on uninterrupted. The buttery texture of the salmon & avocado quiches, followed by the richness of the raspberry & mango Bavarian cream is sure enough to put a ray of sunshine in anyone’s heart.

Recipes:

Salmon, Avocado and Cherry Tomato Mini Quiches

Quantity: 8 tarts

Ingredients:

210g plain flour

105g unsalted butter

130g fresh, skinless and boneless salmon fillet

½ an avocado

100g cherry tomatoes

Garlic olive oil

1 egg

142ml double cream

Pecorino cheese, grated

Dried herbs (optional, I recommend basil)

Method:

  1. Rub butter into flour with hand until they resemble fine breadcrumbs. Add a little cold water a table spoon at a time to bring the mixture together. The mixture should be just combined and be careful not to overwork the pastry. Chill the pastry dough for 30 minutes in the fridge.
  2. Using a rolling pin, roll out the pastry on a lightly floured surface and shape into the tart moulds. Make sure the pastry is pushed into all the corners of the moulds. Chill the pastry in the fridge for 20 minutes before baking.
  3. Chop the cherry tomatoes in halves and place them on a baking tray lined with baking paper. Drizzle garlic olive oil on top, and season with salt.
  4. Heat the oven to 200C/fan 180C/gas 6. Cook the cherry tomatoes at the bottom of the oven while baking the pastry.
  5. Using a fork, lightly prick the base of the tarts. Place baking beans on top of baking paper on the tarts to prevent rising. Blind-bake the tarts for 20-25 minutes. Remove the paper and baking beans, and continue baking for 5-10 minutes, or until they are biscuit brown.
  6. To make the egg and cream mixture, beat the egg in a bowl. Add the double cream gradually, and then stir in cheese, herbs and salt.
  7. Dice the avocado, and chop the salmon fillet into tiny bits. Season them. (I suggest adding a bit of lemon juice too.) Remove the tarts from the moulds once they are cooled. Place the salmon, avocado and roasted cherry tomatoes in the tart shells. Pour the egg and cream mixture into the tarts, and sprinkle more cheese on top.
  8. Bake for 20-25 minutes until the filling is set and golden brown.

Raspberry and Mango Bavarian Cream

Quantity: 2

Ingredients:

200g raspberries

20ml water

50g sugar

1 tbsp lemon juice

250ml milk

150ml double cream

2 egg yolks

7g leaf gelatine

Mango pulp

Dried banana chips, chopped

Method:

  1. Place the raspberries (save a few aside for decoration), water, lemon juice and 20g of the sugar in a saucepan, bring them to a boil. Crush the raspberries as you are cooking. Pass the puree through a sieve and leave to cool.
  2. Soak the leaf gelatine in cold water and set aside.
  3. Beat egg yolks in a bowl with the remaining sugar, and whisk until it is smooth and pale yellow.
  4. Add the milk to the egg mixture and whisk. Pour the mixture into a saucepan and cook on a low heat until thickened. Continuously whisk as you are cooking to prevent the mixture solidifying at the bottom.
  5. Take the softened leaf gelatine out of the water and squeeze out any excess water. Add the gelatine to the custard and mix well until it is fully dissolved.
  6. Take the custard off the heat, and pass it through a sieve.
  7. Add the raspberry puree to the custard and mix until well combined.
  8. Whisk the double cream until it is airy. Fold the cream into the mixture until well combined.
  9. Pour the mixture into wine glasses. Chill in the fridge for 3-4 hours, or until fully set.
  10. Add the mango pulp on top of the set Bavarian cream. Decorate with raspberries and dried banana chips, and serve.

Home Is Always Where It Starts

They once said, ‘Click your heels together three times and say ‘There’s no place like home” and you’ll be there’. When I moved away from home, I was hungry for more in life. New job, new friends, new relationships and everything more. Three years in, I feel unhappy and frustrated at my job, whilst those around me go through new changes and challenges. But as I sat here feeling unfulfilled about my life, I always try to remind myself about how far I come. How far away from home I am.

Being in the city has its quirk of seeing many things that remind me of home, but food always come first on my list. My mum and I always have a fondness for angel food cake. This light yolk-less sponge paired with whipped cream and passion fruit curd is quite literally a recipe from the heaven. To paraphrase Dorothy from The Wizard of Oz, I say ‘Eat your cake three times and say ‘There’s no place like home” and you’ll be there’.

(Courtesy of Mary Berry’s recipe on BBC Food: https://www.bbc.com/food/recipes/angel_food_cake_with_04002)

Lemon passion fruit angel food cake 2