Happy Mid-Autumn Festival!

It is a bit later than it should be, but I would like to wish everyone a happy mid-autumn festival! πŸ‘πŸ‘πŸŽ‰πŸŽ‰πŸŽ‰ The mid-autumn festival is a Chinese festival that takes place during a full moon night somewhere between mid September to early October (due to the differences between the modern calendar and the Chinese lunar calendar). On this day, people celebrate the festival by hanging lanterns and eating a pastry called the moon cake. I have so many fond memories celebrating this festival with my family back when I was a child growing up in Hong Kong, so there was definitely a feeling of nostalgia when I dropped by Chinatown earlier today after leaving work.

Lanterns (top) and moon cakes (bottom)

Back then, my family and I would hang different lanterns around our house during the night. And being a child back then, I wasn’t fond of the traditional-styled lanterns, so would always end up picking all the cartoony or animated ones. πŸ˜…πŸ˜… (Looking back, it probably felt more like a mini comic-con than mid-autumn festival lol…) I remember one particular year when my family and I gathered around at the rooftop of our house and watched the full moon while surrounded by the lights of these lanterns. It was definitely a time in my life that I miss.

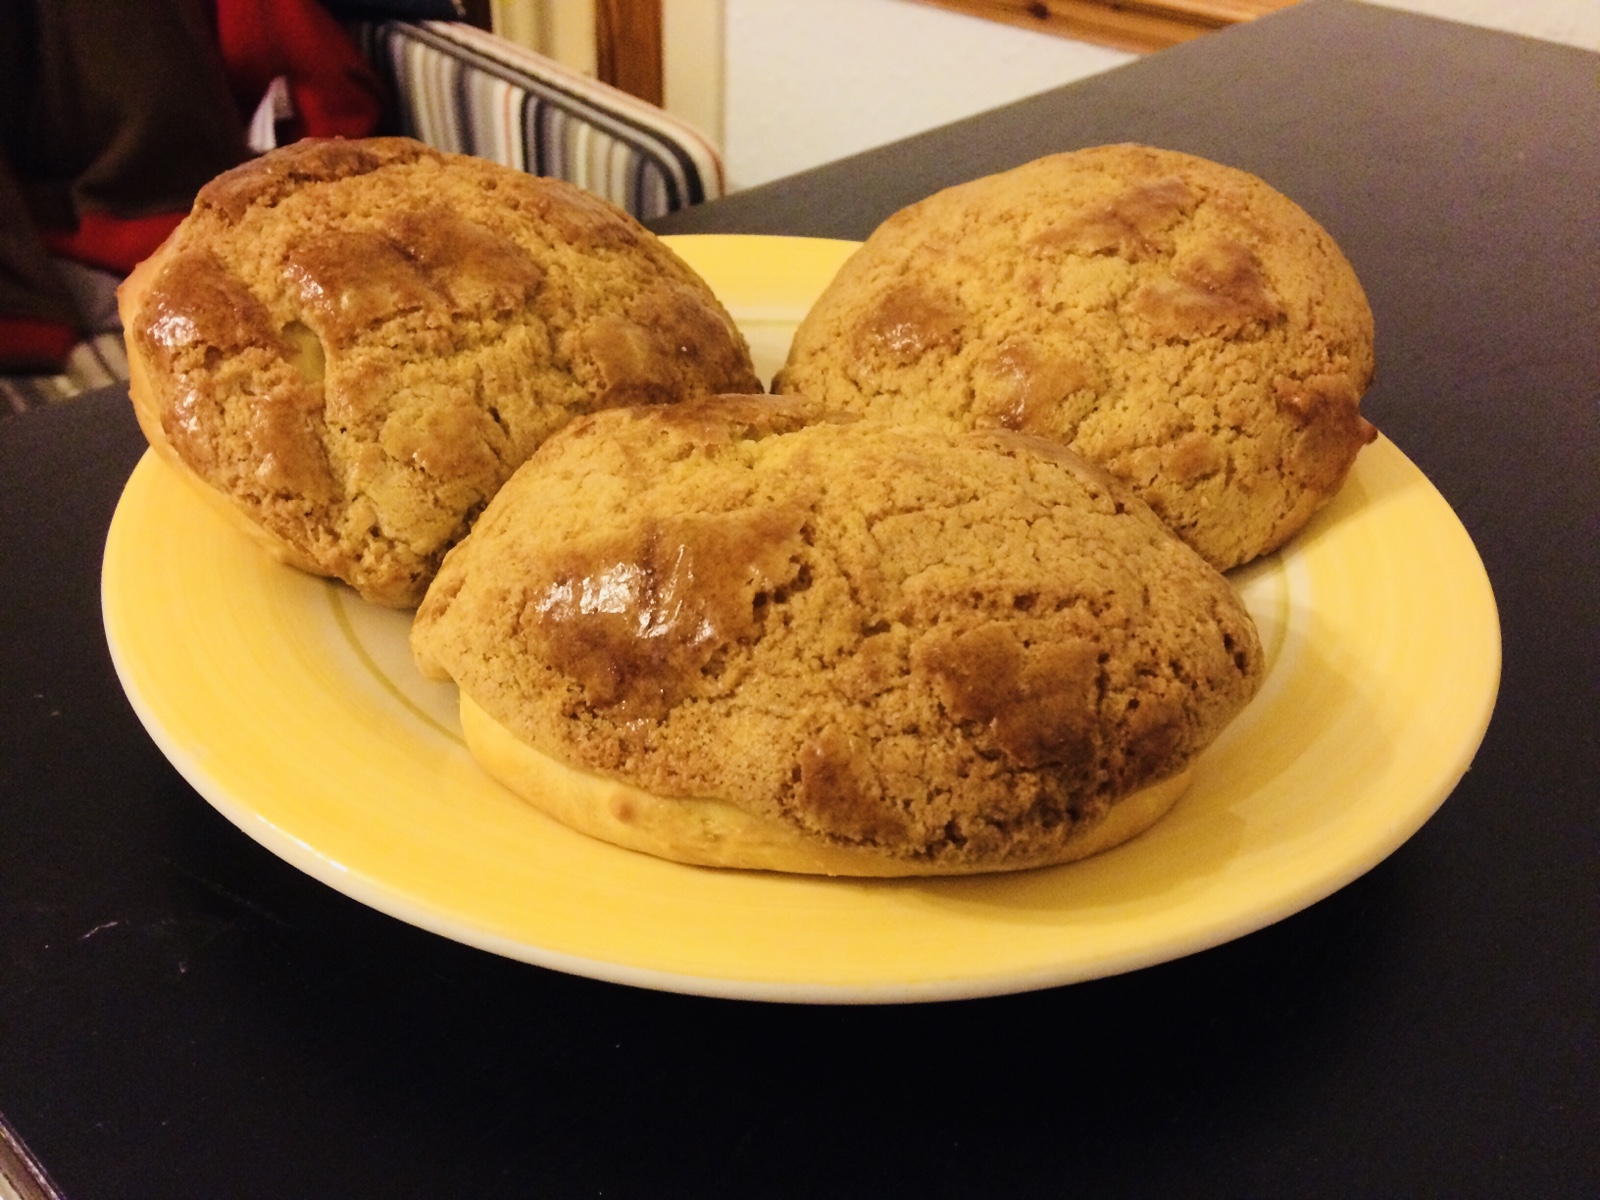
Whilst in Chinatown, I bought a packet of moon cakes from a Chinese bakery. Moon cake is a sweet pastry traditionally filled by lotus seed paste and salted duck egg yolks. This one I got though was not technically traditional as it lacked the salted yolks (which to be fair I was never a huge fan of anyway so there’s no love lost haha…πŸ˜…) and it was sesame-flavoured. Nonetheless, a bite of this moon cake really takes me back to those times. I really wish sometimes I can just be a child forever. Do you feel the same?

Childhood and Jelly

How often do you spend time reminiscing about your childhood? A few days ago, I managed to dig up my old diaries from over 10 years ago, hidden behind piles of books on my old book shelf in my family home. Reading back, I felt a wave of nostalgia. Come to think of it, so much had happened within these past 10 years with many ups and downs. Yet, I don’t feel much different from who I was back then. I always seem to have been the kind of person who strives for and wants more in life, no matter how tiring it can get. But at times I feel lost, not knowing where to go next, questioning what I am doing and feeling demotivated.

I remember when I was a child I used to get so excited over the simplest things in life. Cartoons, comics, games… But my passion in these things slowly somehow dwindled. One of the many things though that get me all hyped up back when I was a little kid was the agar jelly that my mum used to make.

Agar is a type of seaweed that can be used as a substitute for gelatine, and it is widely used in many Asian desserts. It is also suitable for vegetarians and vegans. My family often used strips of dried agar and rock sugar to make jelly as snacks since the recipe is very straightforward (see below). Most of the times we have them plain, but we also sometimes like to incorporate other things such as coconut milk into the jelly.

My mum taught me how to make them today, and the process really made me reflect about things now in my life. Why make things complicated when you can have them so simple? Perhaps simplicity really is the best policy to happiness. πŸ™‚πŸ™‚ Do you agree? πŸ€—

Plain Agar Jelly

Quantity: about 30 small jellies

Ingredients:

450g water

7g dried agar strips

80g rock sugar

Method:

1. Heat the water in a saucepan to boil.

2. Add the agar and sugar to the boiling water. Continue to heat until they have fully dissolved.

3. Pour the mixture into moulds of your choosing. Place in fridge for about 15 mins, or until set. (It should set quite quickly.)

4. Remove from moulds gently.

For the coconut agar jelly, substitute about half of the water with coconut milk.

Once Upon A Pineapple

On this Throwback Thursday and continuing the theme of bread week, I would like to talk about a very memorable bread from my childhood called Bolo Bao, literally translated from Chinese as ‘Pineapple Bun’.

My homemade Bolo Bao

Bolo Bao is a sweet bun originated from Hong Kong. It is an extremely popular treat there (being apparently named as a cultural heritage in 2014), and many people including those in my family enjoy it so much to the point that it is consumed almost every other day. There are many bakeries and eateries in Hong Kong that specialise in this bread, and my mum used to regularly go to a particular eatery to get fresh Bolo Bao that had come straight out of the oven during her work days.πŸ˜‹ Now, just to clarify that despite its name, it has absolutely no pineapple in it! What it does have is the signature sweet, crunchy pastry on the top, which to me resembles a craquelin on a choux bun and tastes like a sugar cookie. And, this crust is the very thing that leads to its name due to its pineapple-like texture and appearance. 🍍🍍 πŸ˜‚

A few years, I tried to make this bread at home and actually turned out to be quite successful with it.😊 The dough is an enriched dough but otherwise the rest of the procedure is fairly straightforward including the crust.

Bolo Bao (‘Pineapple Bun’)

Quantity: 16 buns

Ingredients:

For the dough:

450g strong white/bread flour

60g unsalted butter

110g caster sugar

225g milk

2 tsp yeast

1 large egg, beaten

For the pastry crust:

200g plain flour

60g unsalted butter

60g lard

110g caster sugar

Β½ tsp bicarbonate of soda

Β½ tsp baking powder

1 large egg yolk

3 tbsp milk

1 tsp vanilla extract

  1. To prepare the dough, rub the butter into the flour until it resembles fine breadcrumbs in a large mixing bowl. Mix in the sugar.
  2. In a separate bowl, dissolve the yeast in the warm milk. Add the beaten egg to the yeast solution and mix.
  3. Pour the yeast mixture into the flour mixture. Use a wooden spoon and then your hands to bring the mixtures together. Knead for about 10 minutes to form a smooth dough. (The dough will be quite wet but try not to be tempted to add more flour.)
  4. Cover and allow it to rise for 1-2 hours, or until it has doubled in size.
  5. Knock the air out of the dough and transfer it to a lightly floured work surface. Knead again for 2 minutes.
  6. Divide the dough into equal portions and place on a baking tray lined with baking parchment. Leave the dough to rise for about 20-30 minutes.
  7. While waiting for the bread dough to finish its second rise, get the crust ready by starting with rubbing the butter and lard into the plain flour. Mix in the sugar, bicarbonate of soda and baking powder.
  8. In a separate small bowl, mix the yolk, milk and vanilla extract together. Add it to the flour mixture and mix with your hands to bring the mixtures together to form a smooth dough.
  9. Transfer the dough for the crust to a lightly floured work surface. Divide the dough to equal portions and roll them into balls between your hands. Dust the balls with a small amount of flour and, using a rolling pin, roll them out into even, thin circles.
  10. Preheat the oven to 180C/350F/Gas 4. Place a baking tray with a cupful of water at the bottom of the oven to create steam.
  11. Place the crust on top of the buns and brush with an egg wash.
  12. Bake for about 15-20 minutes, or until golden. Then, leaving on a wire rack to cool slightly before serving.

Do you have any memorable bakes from your childhood that speak about your culture? Let’s share in the comments below! 😊

My Cookie Monster

Who can ever forget cookiesπŸͺ and milkπŸ₯› from the days of your childhood? I used to have so much fun dunking the cookies in the milk (to me that’s the best bit!) It’s funny to think how the smallest thing in the world can make you smile when you were a child, but these excitement and joy seemingly become more rare as one grows older and older.

As a kid, I was able to enjoy every little moments of my life, but nowadays I would just always be constantly thinking and worrying of things I need to do the day after. I missed the days when I used to be able to go home and watch my favourite shows, and escape from the reality. One of my favourite shows to watch back then was Sesame Street and the Cookie Monster often appeared on my screen (Though my favourite was actually Oscar ’cause I loved the fact that he lives in a bin! πŸ˜‚) Don’t you just wished you can go back to being a kid again?

Turning back time may not be possible, but a dream of cookie and milk is not far from reality. These jam-filled chocolate chips cookies are very simple to make but just as nostalgic as those of your favourites from your childhood. What’s your favourite kind of cookies? Come and try this, and embrace the Cookie Monster inside us all!

Jam-Filled Chocolate Chip Cookies

Quantity: About 6 cookies

Ingredients:

100g plain flour

50g unsalted butter

35g caster sugar

1-2 tbsp milk

Seedless Raspberry Jam

Dark Chocolate Chips

Method:

1. Rub the butter into the flour until it resembles fine breadcrumbs. Mix in the caster sugar.

2. Add the milk a bit at a time to bring the dough together. Cover and rest the dough in the fridge for about 30 minutes.

3. Preheat the oven to 190C/375F/gas 5.

4. Roll the dough evenly to a large square. Cut out circles using a cookie cutter. (Alternatively, split the dough into equal portions, then roll and shape.) Ensure you have cut out an even number of circles.

5. Place a teaspoon of jam on one circle of dough and cover with another circle. Repeat this procedure with the remaining dough. Add chocolate chips on top of the cookies.

6. Bake the cookies in the oven for 12-15 minutes, or until golden.

7. Cool the cookies on a wire rack to let them firm up before serving.