Who can ever forget cookies🍪 and milk🥛 from the days of your childhood? I used to have so much fun dunking the cookies in the milk (to me that’s the best bit!) It’s funny to think how the smallest thing in the world can make you smile when you were a child, but these excitement and joy seemingly become more rare as one grows older and older.
As a kid, I was able to enjoy every little moments of my life, but nowadays I would just always be constantly thinking and worrying of things I need to do the day after. I missed the days when I used to be able to go home and watch my favourite shows, and escape from the reality. One of my favourite shows to watch back then was Sesame Street and the Cookie Monster often appeared on my screen (Though my favourite was actually Oscar ’cause I loved the fact that he lives in a bin! 😂) Don’t you just wished you can go back to being a kid again?
Turning back time may not be possible, but a dream of cookie and milk is not far from reality. These jam-filled chocolate chips cookies are very simple to make but just as nostalgic as those of your favourites from your childhood. What’s your favourite kind of cookies? Come and try this, and embrace the Cookie Monster inside us all!
Jam-Filled Chocolate Chip Cookies
Quantity: About 6 cookies
Ingredients:
100g plain flour
50g unsalted butter
35g caster sugar
1-2 tbsp milk
Seedless Raspberry Jam
Dark Chocolate Chips
Method:
1. Rub the butter into the flour until it resembles fine breadcrumbs. Mix in the caster sugar.
2. Add the milk a bit at a time to bring the dough together. Cover and rest the dough in the fridge for about 30 minutes.
3. Preheat the oven to 190C/375F/gas 5.
4. Roll the dough evenly to a large square. Cut out circles using a cookie cutter. (Alternatively, split the dough into equal portions, then roll and shape.) Ensure you have cut out an even number of circles.
5. Place a teaspoon of jam on one circle of dough and cover with another circle. Repeat this procedure with the remaining dough. Add chocolate chips on top of the cookies.
6. Bake the cookies in the oven for 12-15 minutes, or until golden.
7. Cool the cookies on a wire rack to let them firm up before serving.
Have you heard that it’s common for one to lose their appetite in the summer? I sometimes wonder if is it really to do with the heat, or people are careful about watching their beach bodies? Either way, the heat wave today didn’t seem to have affected my appetite at all (though it did change my diet to mainly compose of cold drinks and ice creams…🍹🍦🍧🍨) So, today, I paid a visit to Bao in London Soho.
Their Signature Classic Bao with Braised Pork, Peanut Powder and Coriander
I was introduced to this place by a friend of mine two years ago. It is quite well known in the city and this particular branch I visited usually have a long queue outside (especially in the evening), so I was quite lucky today that I managed to get straight inside without waiting. The restaurant is known for serving Taiwanese street food with some old classic dishes and some with a modern twist.
I’ve come here a few times before and I must say the food is delicious. Though a warning to big eaters like me, because the dishes are small, you might get carried away ordering too much and ended up with an expensive bill! 😅 (The place does offer £90 to order everything on the menu. Feel free to give it a try haha!) Their signature classic bao did not disappoint as the bread bun was soft and fitted perfectly with the rich, tender pork filling.
Guinea Fowl Rice
The second dish I ordered was the guinea fowl rice. It was recommended to mix the rice and the toppings together before eating. It was a simple dish but one that very much reminded me of home. The guinea fowl was tender and the yolk brought the life to this dish.
Fried Pig Trotter Nuggets and Pig Blood Cake, a Taiwanese Classic
Next were two of my favourites here. 😋 The fried pig trotter nuggets were crispy on the outside but very juicy on the inside. Pig trotters are often considered cheap meats, but it is enjoyed in many Asian cuisines. Now, I am actually not a fan of pig trotters (despite being loved by many in my family), but this modern spin is one definitely not to be missed by me, especially when paired with the green chilli sauce.
On the other hand, pig blood cake is a very traditional, classic Taiwanese street food. The reason I love this dish so much is because it reminds me of my time growing up eating pig blood curd in Hong Kong, and also when I used to have black puddings for breakfast whilst I was living in Scotland. The rich, savouriness of the pig blood mixed with the sticky rice and cured egg yolk might not be one for everyone, but it certainly ticked a lot of my boxes. 😉
Have you also tried Taiwanese food before? Let me know about any thoughts you have in the comments! 😊
The heat wave is finally here in London! ☀️ 🔥 🔥 Now that summer has officially begun, how many of you have planned your holiday already? Whether you’re spending time with friends, families or alone by yourself, summer is an important for one to unwind and enjoy the beauty of nature. For someone who loves exploring new places, you may be surprised to hear that I don’t actually travel abroad an awful lot during the holidays. However, I do dream about lying alone on a beach 🏖🏝 (or next to a hunky companion hehe), staring at the clear water or the bright blue sky, and snoozing under the sun with a cold, tropical drink in my hand…🍹
Meanwhile, I will imitate this tropical feeling at home by making my favourite mango mousse cake. This mango mousse cake is one of my more complicated dessert. Inside the mousses hides a layer of coconut sponge cake and strawberry clear jelly over a buttery digestive biscuit base. The cake is finished with a mango glaze and topped with a tempered chocolate nest filled with coconut white chocolate truffles. It does take a bit of time to make this but it’s well worth the effort!
Tropical Mango Mousse Cake
Quantity: 1 cake
Ingredients:
For the clear strawberry jelly:
5g leaf gelatine
225ml lemonade
5-6 strawberries, chopped
For the digestive biscuit base:
200g digestive biscuit
70g unsalted butter, melted
For the coconut sponge cake:
2 eggs, separated
32g caster sugar
24g flavourless oil
28ml warm water
1 tsp vanilla extract
100g self-raising flour
20g desiccated coconut
For the mango mousse:
11g leaf gelatine
450g mango purée/pulp
50g caster sugar
400ml double cream
For the coconut white chocolate truffles,
100g white chocolate, chopped
30ml double cream
1 tbsp butter
Desiccated coconut
For the tempered chocolate decorations:
300g dark chocolate
For the mango glaze:
56ml water
47g caster sugar
1 lemon, peels only
16g leaf gelatine
175g mango purée/pulp
Other decorations:
Fresh mangoes, chopped
Desiccated coconut
Dark chocolate
White chocolate stars
You will also need at least a small cake tin and a larger cake tin (both should have a loose base) to create the layering effect.
Method:
1. Start the jelly first by soaking the leaf gelatine in cold water. Line the small cake tin with cling film.
2. Bring the lemonade to boil in a saucepan. Squeeze off any excess water from the soaked gelatine and stir it into the saucepan until fully dissolved. Take it off the heat, and add in the strawberries. Pour it into the tin and place it into a fridge for about 2-3 hours to set. Once the jelly is set, remove it from the cake tin with the cling film and continue to chill it in the fridge until use.
3. Prepare the digestive biscuit base by blitzing or grinding down the digestive biscuits to fine crumbs. Mix in the melted butter. Line the bottom of the larger cake tin with a cling film, and spread the biscuit mixture evenly at the base of the cake tin. Chill the biscuit base in the fridge for about 30 minutes so it can firm up.
4. Preheat the oven to 180C/350F/gas 4. For the sponge cake, whisk the egg whites in a large bowl with half of the sugar until stiff.
5. In a different bowl, mix the yolk, oil, water, vanilla extract and the remaining sugar together until smooth. Sieve in the flour and add the desiccated coconut into it, and mix until well-combined. Fold this mixture into the whipped egg whites.
4. Grease the small cake tin and pour in the cake batter. Bake for 20-25 minutes, or until golden and a skewer inserted into the centre comes out clean. Remove the cake from the mould and cool on a wire rack.
5. To make the mango mousse, soak the leaf gelatine in cold water and whip the double cream to soft peaks.
6. Warm the mango purée/pulp with the sugar in a saucepan. Squeeze excess water off from the gelatine and stir it in until fully dissolved. Pass the purée mixture through the sieve. Pour and fold it into the whipped cream until smooth.
7. To assemble the mousse cake, pour in some of the mousse into the larger cake tin with the digestive biscuit base. Place the coconut sponge at the centre and flip the strawberry jelly on top of the sponge using the cling film. Fill up the sides with the mango mousse (ensure they are completely filled up, or else you will see gaps later on), and pour the remaining mousse on top and spread evenly. Place the mousse cake into the fridge to set for about 4 hours.
8. To make the truffles, place the white chocolate, cream and butter in a bowl and heat it a microwave in 20-seconds intervals until melted. (Take care as white chocolate is easy to get overheated and burnt.) Cover the bowl and chill the chocolate in the fridge until firm. Grease your hand with a bit of oil. Scoop and roll the cooled white chocolate in your hand to shape into balls. Roll the truffle balls in desiccated coconut to cover them.
9. For the tempered chocolate decorations, warm two thirds of the dark chocolate in a double boiler to 45-50C/113-122F until melted. Stir in the remaining chocolate to cool it to 31-32C/87-89F.
10. For the chocolate palm trees, pipe the tempered chocolate into shapes on baking parchment. For the chocolate sticks, cut out a rectangular strip of baking parchment and pipe diagonally across it to create a net effect, then carefully roll the paper into a tube shape and secure with tape. For the chocolate nest, flip a bowl upside down and covered with baking parchment, then similarly pipe the chocolate in a net pattern around the bowl. Leave the chocolate decorations to cool and set in room temperature before removing and use.
11. Once the mousse cake is set, remove it from the cake tin and pull out the cling film underneath. Keep the cake cooled in the fridge while preparing the glaze.
12. To make the mango glaze, first make a syrup by heating the water, sugar and lemon peels in a saucepan for 2-3 minutes. Remove the lemon peels.
13. Soak the leaf gelatine in cold water. Add the mango purée/pulp to the syrup and heat. Squeeze the excess water off the soaked gelatine and stir it in until fully dissolved. Pass the glaze through a sieve and let it cool slightly before use.
14. Place the cake on a wire rack over a tray. Pour the glaze over in a swirl motion to cover the cake evenly. Dust the sides with desiccated coconut.
15. While the glaze is still setting, decorate the cake with fresh mangos, truffles and the chocolate decorations. (Use a knife to cut open a small gap to insert the palm trees into the cake). Move the cake to a stand and keep in the fridge until serving.
Now, excuse me as I continue to stare upon the bright blue sky. 😉
So I might have jinxed myself with my last post, since I have been nothing but a ‘busy bee’ 🐝 this past week with a funny cheek infection. Initially, I thought it was just a minor scratch who turned out to have worsened over the weekend. Walking into work on Monday, I was bombarded by questions about whether I had gotten into a fight or burnt myself, and with that I realised maybe I should seek some helps about it.
When I visited the pharmacy for some creams/ointments after work on Tuesday, I was a bit taken back to hear the pharmacist to tell me that it may be an infection and I should see a doctor about it. Now, as much as I appreciate the work of NHS in the UK, I can’t help but get annoyed at times. Since moving to London, making an appointment with GP have been quite literally a nightmare for me with their long waiting times. After I was told there won’t be a free appointment until after 2 weeks (and I struggle with the ‘walk in’ times as they are during work in the morning), I hung up with a huff. 😤
After speaking to NHS on 111, I was suggested to go into a ‘walk in’ centre for a appointment. However, after spending a good 20 minutes on the bus to get to the medical centre nearby, I was told they have reached maximum capacity for the day and was turned away! 🤦♂️ This left me having to take another 20 minutes of underground going back to the opposite direction to a hospital which also has walk in services. 😕 Thankfully it wasn’t much of a long wait and the doctor was very attentive and helpful (who also had someone who was training with him which was quite nice to see.) They both told me my cheek infection was nothing too serious, and with some ointment and antibiotics, it would heal very soon. 😊
I thought my day was finally over as I headed to the hospital pharmacy for my prescriptions. But it turned out it was closed by that point! 😭 With no other choices, I thought this wasn’t too bad and I could just head to a pharmacy nearby. Because it was 6pm, almost all pharmacies in the area nearby were closed so I stopped by King’s Cross Station on my way home, which had a pharmacy open until late. But adding salt to the wounds, I was told the prescription form they wrote for me was a specific one for the hospital pharmacy so it would be illegal for them to give me any prescriptions! 😫😡 (Literally felt like I wanted to bang my head against the wall by that point…)
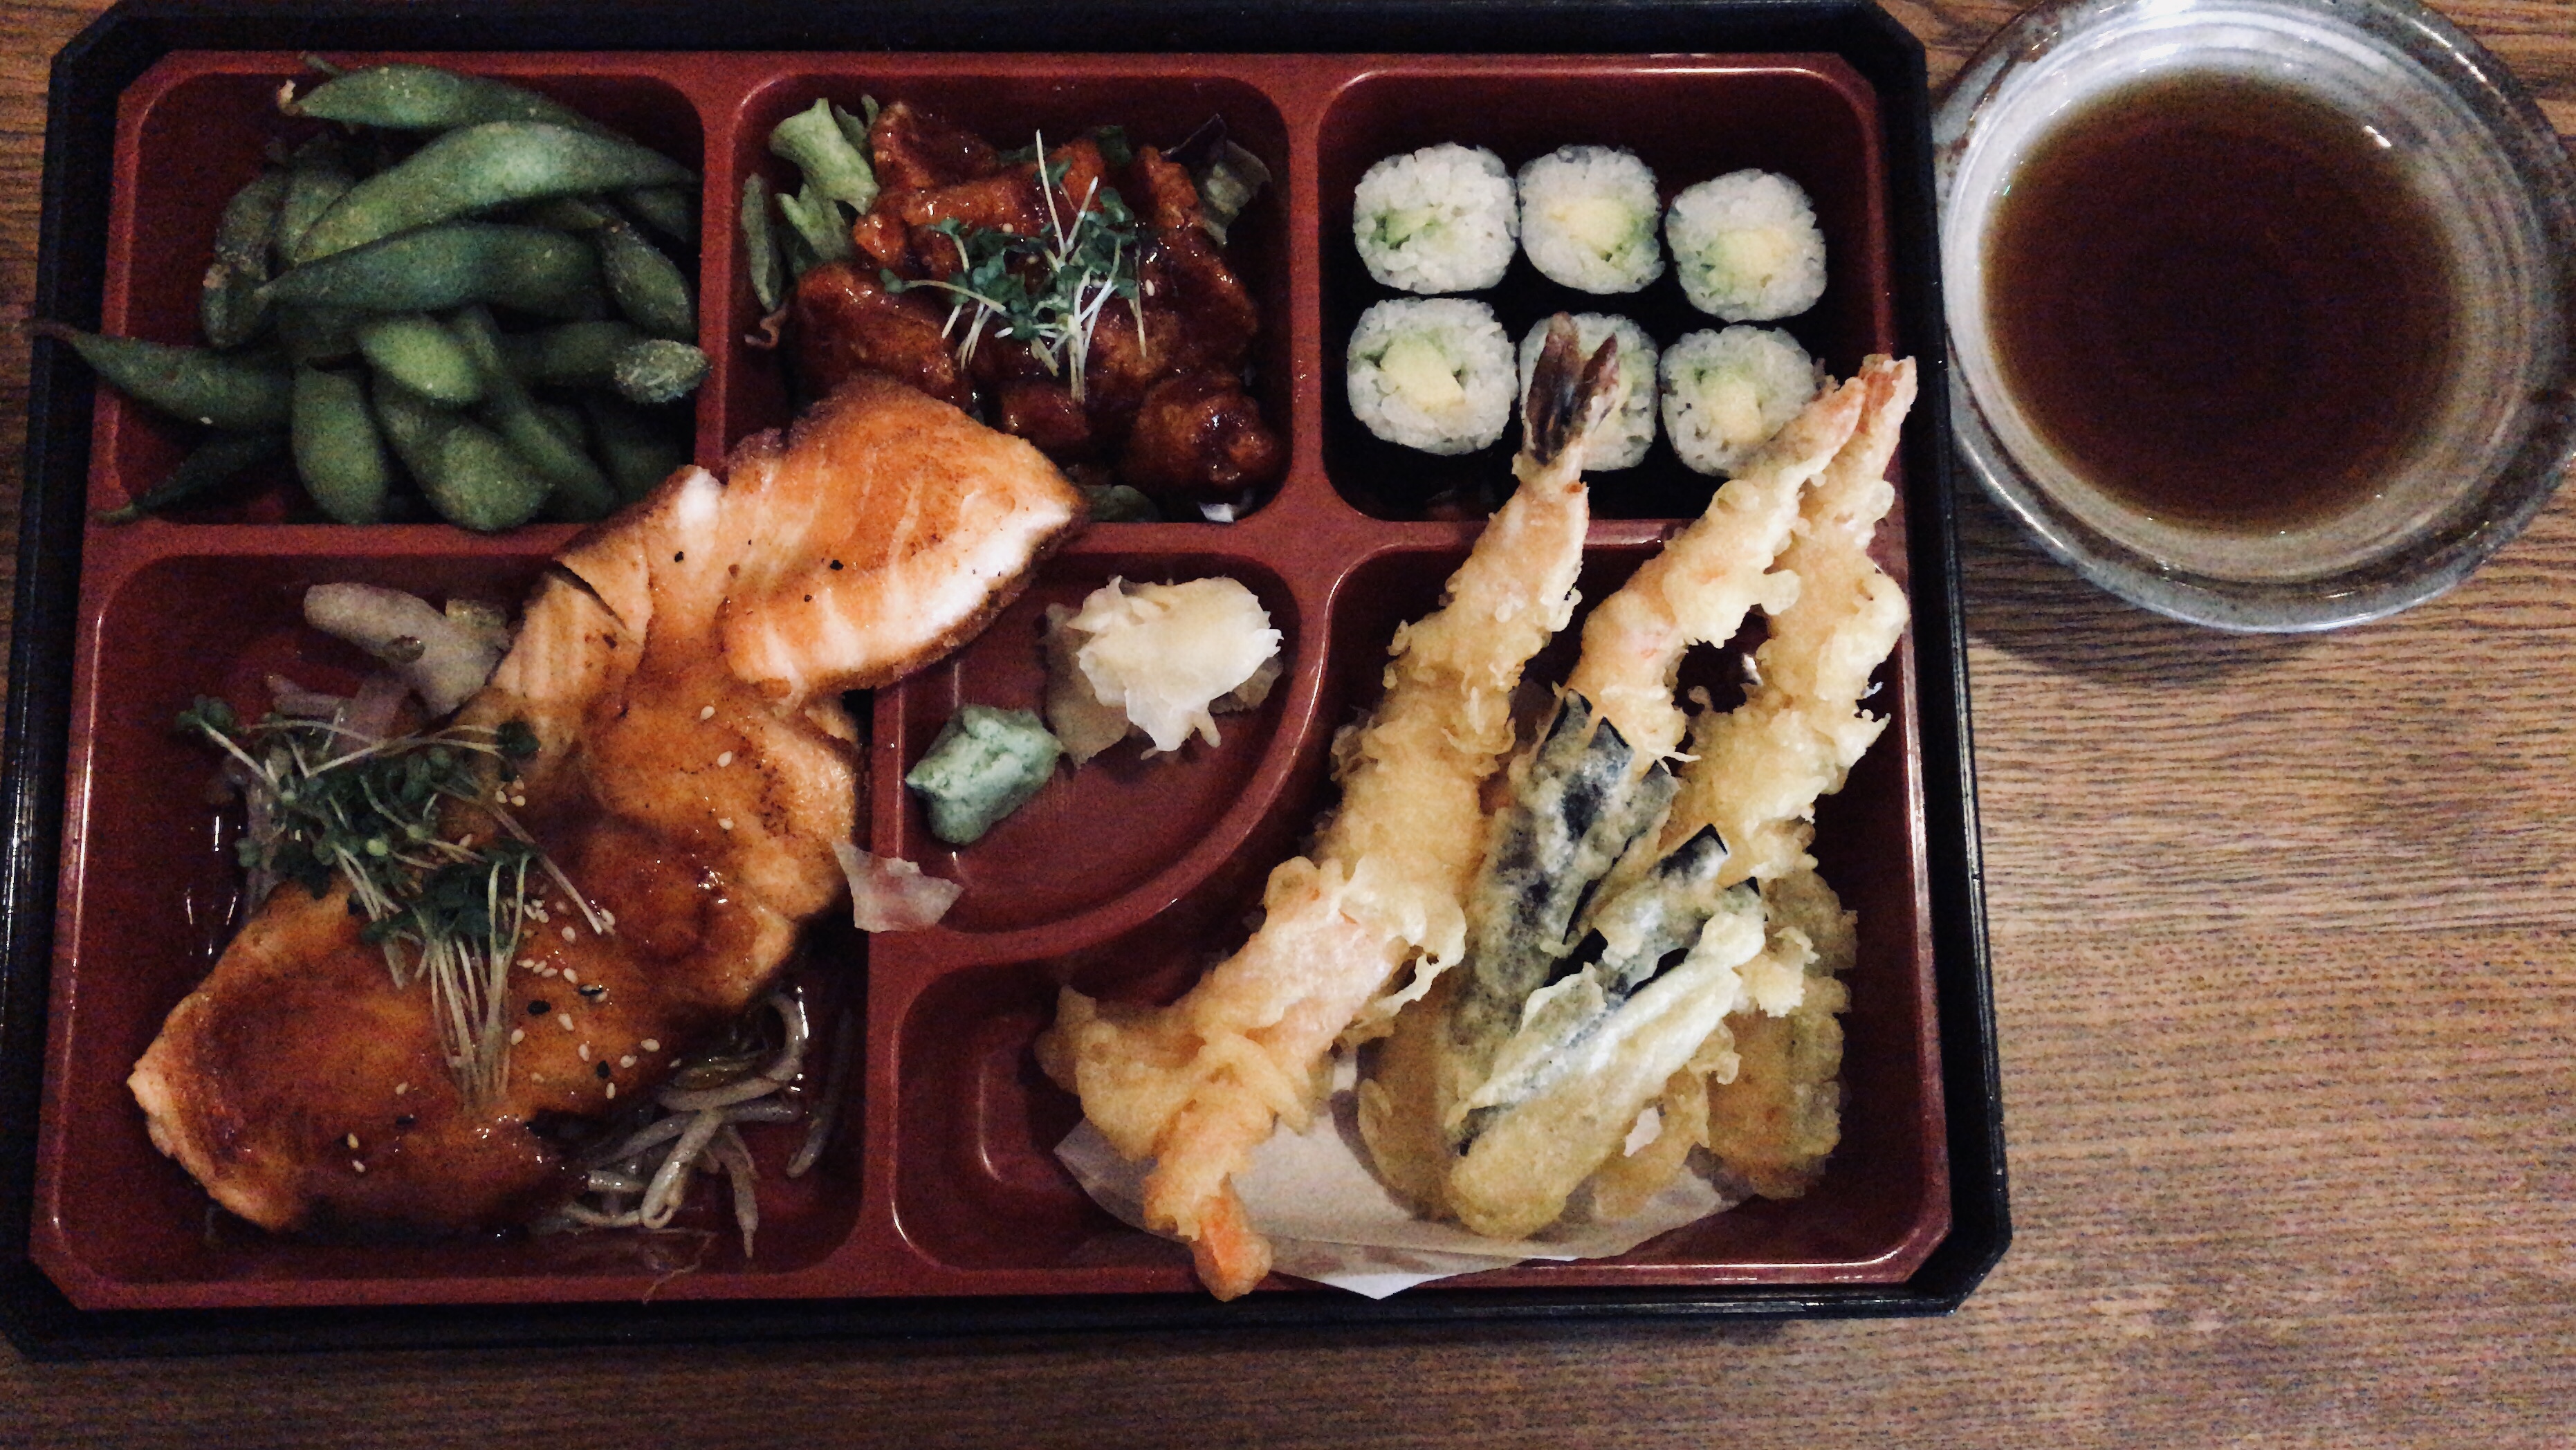
So I ended up going back to the hospital the next day after work (I took an Uber too because my work place was quite a distance from the hospital and I didn’t finish work until after 4 when the pharmacy was going to be closed by half 5.) But at least now, I finally got my prescription and ate at a nice Japanese restaurant nearby. 😁😋 I found often bento boxes in Japanese restaurants in the UK consisted of either a selection of teriyaki chicken or salmon. I usually prefer the latter, but sometimes do get disappointed by the salmon being too overcooked. But this one was nicely cooked, and I really enjoyed the tempuras and the simple avocado sushi rolls.
Have you also had problems with health services before? Feel free to share in the comments below.
How are you all getting on this Monday? Are you all being busy bees back to work? Don’t forget no matter how busy you get, always take time to relax and spend time with your loved ones. (One of the good thing about living alone is you can ignore the latter haha 😛)
As a child, I was very lucky to have a family who worked very hard in order for me to get the life I have now. Whether you’re trying to earn a living for yourself or your loved ones, I commend you for your hard work and your determination to make the most of your lives. And, to commemorate those of you busy bees out there, I would like to share this recipe of my bumble bee lemon cupcakes. Best wishes to the rest of the week! And keep fighting! 💪
Bumble Bee Lemon Cupcakes
Quantity: 12 cupcakes
Ingredients:
For the cake batter:
125g unsalted butter, soft
125g caster sugar
125g self-raising flour
2 large eggs
1 lemon, zest only
1 tsp baking powder
For the lemon icing:
250g icing sugar
2 tbsp lemon juice
1 lemon, zest only
Yellow food colouring
For the bumble bees:
Yellow fondant
Dark chocolate, melted
Dr. Oetker Chocolate Hearts (alternatively, you can temper your own chocolate)
Other decorations:
Wafer flowers
Popping candies
Method:
1. Preheat your oven to 200C/400F/gas 6.
2. Cream the butter with the caster sugar using an electric whisk.
3. Sieve your flour, and add the rest of the cake ingredients into the butter mixture. Beat or whisk until well-combined and smooth.
4. Line muffin tin with cupcake paper cases. Place the batter evenly across the cases. Bake the cupcakes for 12-15 minutes, or until golden and a skewer inserted into the centre comes out clean. Cool the cupcakes on a wire rack once ready.
5. For the icing, sieve the icing sugar into a large bowl. Add the remaining ingredients and beat until smooth. If your icing is too wet, add more icing sugar to thicken it.
6. To make the bumble bees, roll yellow fondant into small balls. Pipe the melted dark chocolate to form the stripes and the eyes. Insert the chocolate hearts on it to form the wings.
7. Once the cupcakes are completely cooled, spread or pipe the icing on top and decorate with the bumble bees, wafer flowers and popping candies.
At the end of every weekends, there always seems to be a sense of dread with the thought of going back to work tomorrow. As one who has suffered from anxiety issues, I have had problems of ‘butterflies in stomach’ as the end of Sunday approaches. Such was a bit of a problem when I was in school, but now having grown into adulthood, I have tried to find ways of managing these problems.
What I found was that doing something that you could enjoy and relax was a great help. And, for me, the best thing to do was obviously none other than having delicious food! So after an afternoon nap at home, I hopped onto a bus for a short ride to Angel station. It is one of my favourite spots in London to come by for good food as it boasts a vast array of restaurants and eatery here.
Now, I have a few places that I particularly go often here, but today I thought I will go for something different as I headed into Wahaca. For my fellow Londoners, I doubt it is something unfamiliar (as they are virtually everywhere!) I had a strange relationship with Wahaca in that, in my first few months in London, everyone I knew would go on about how great it is but we always struggled to get into a restaurant on Friday nights, so I actually didn’t manage to have a try until some time last year (and I genuinely like Mexican food!)
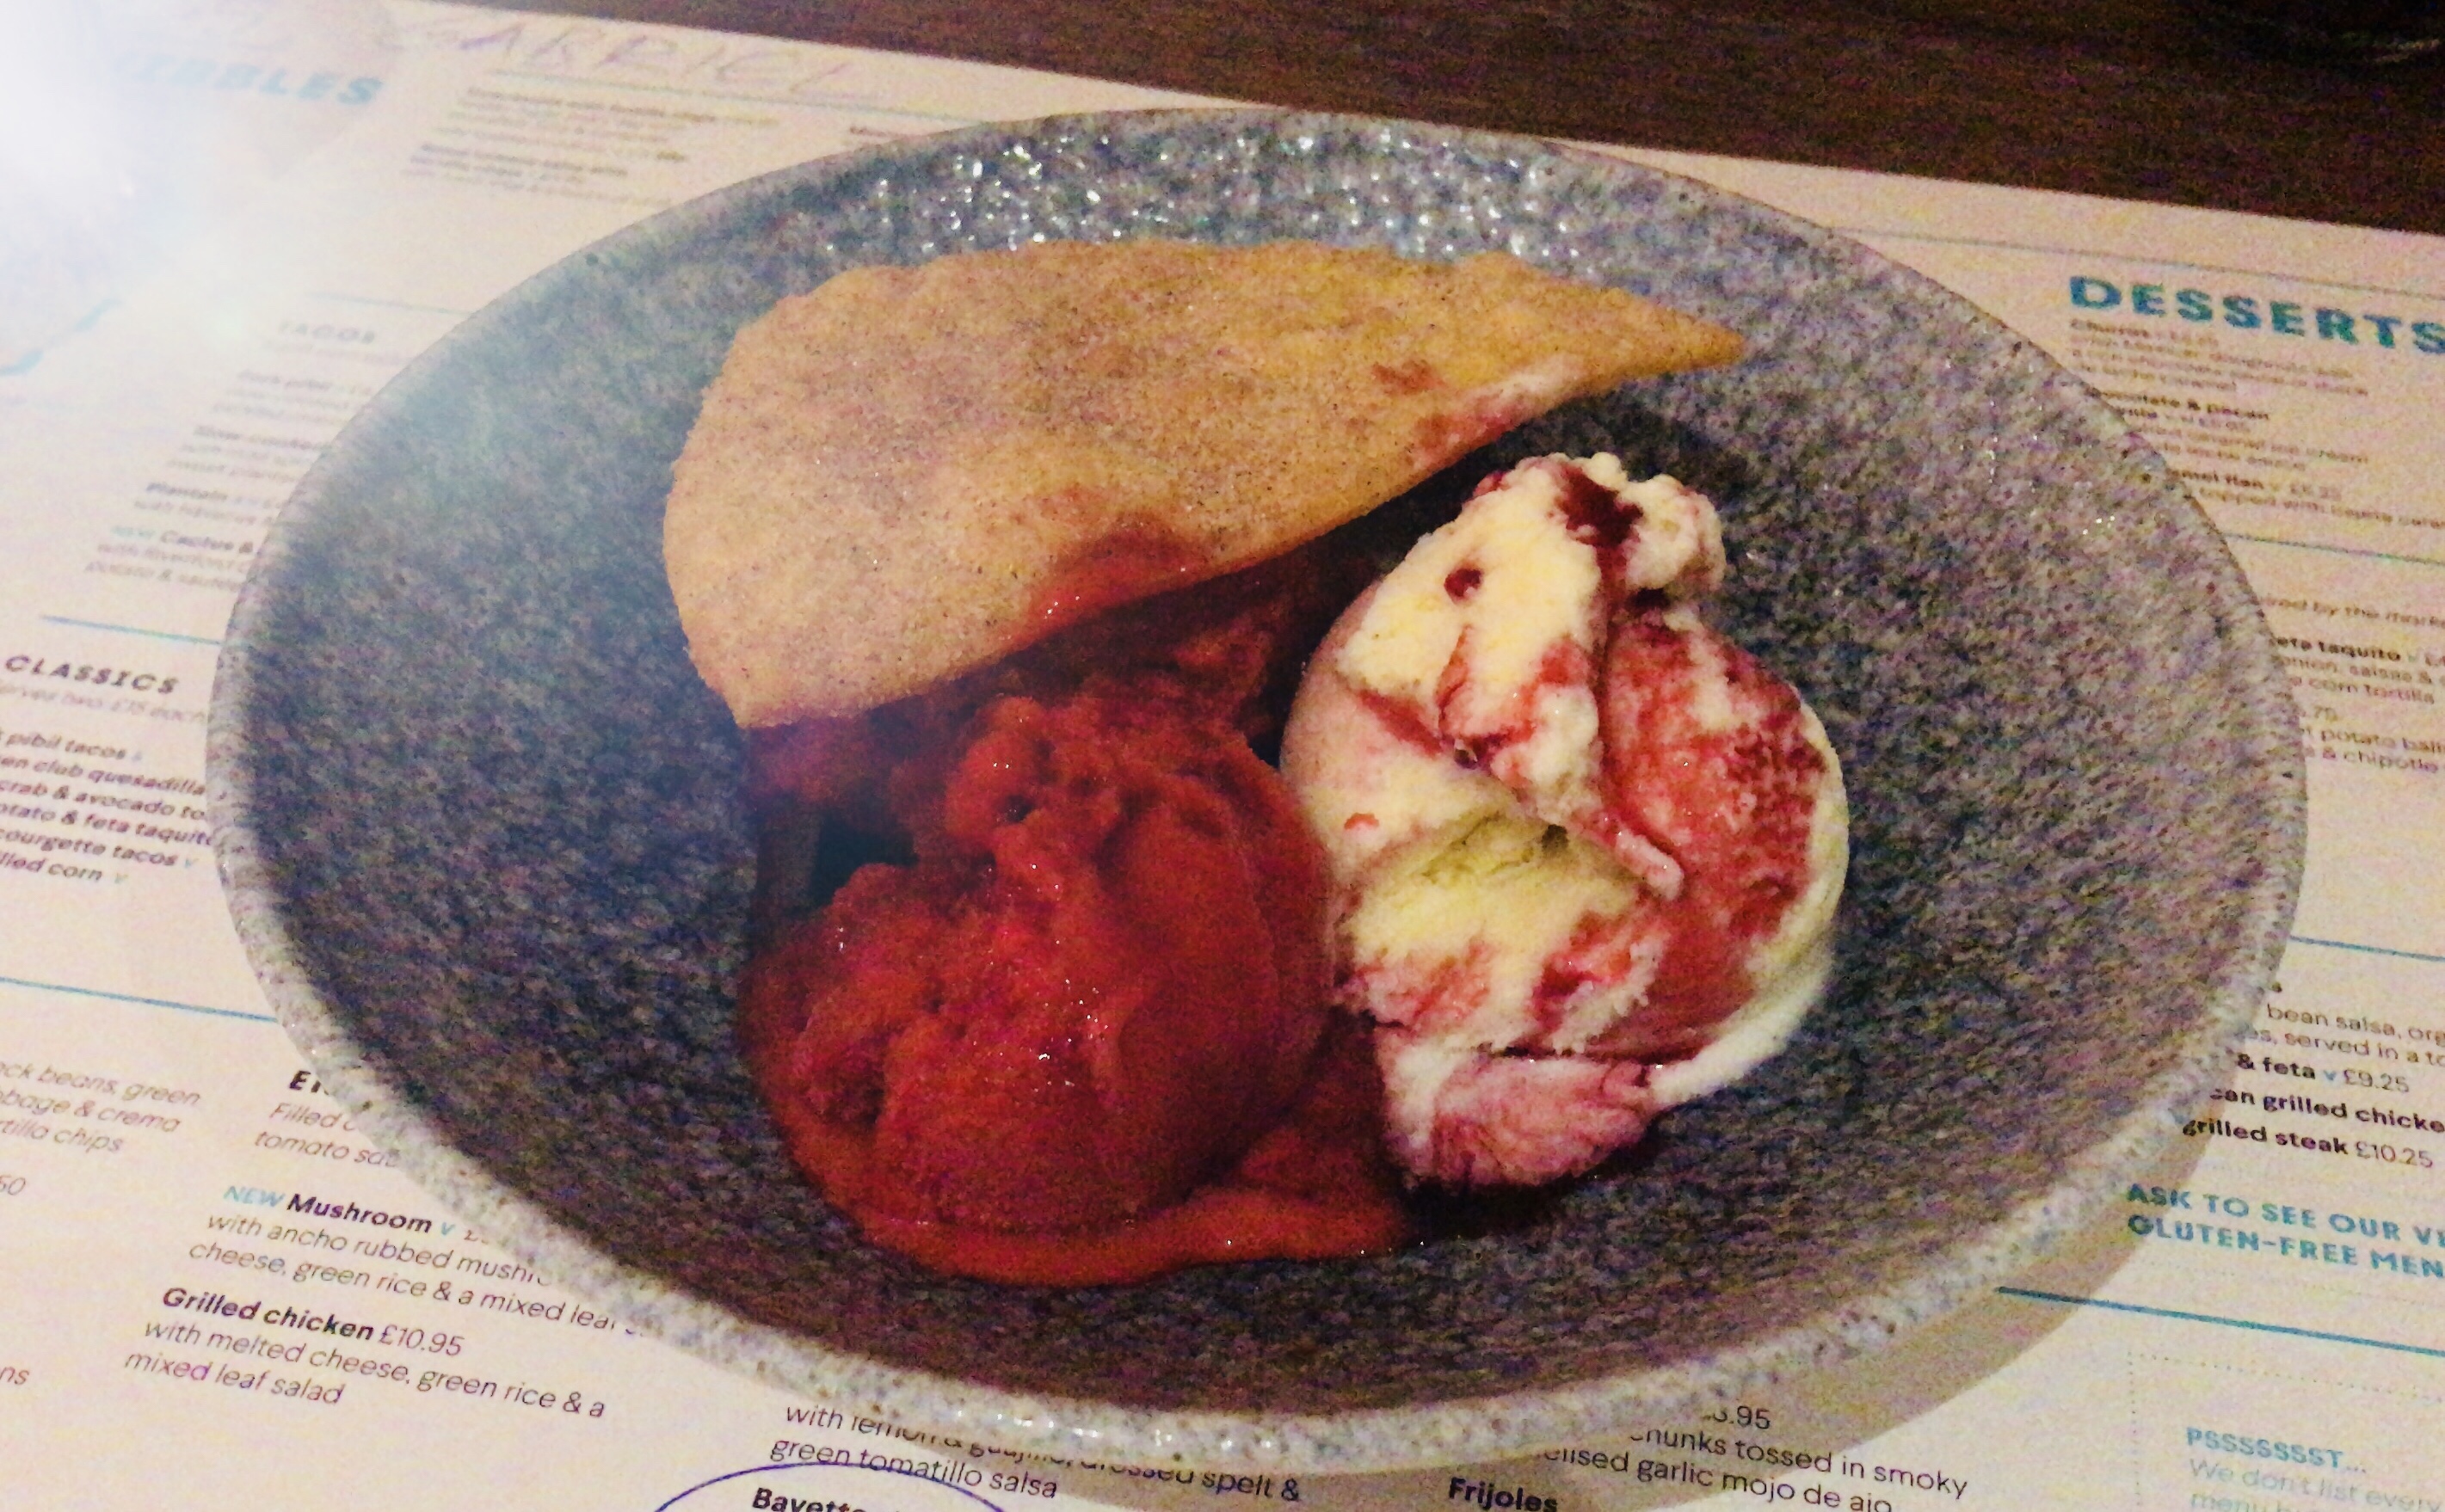
Devon Crab 🦀 & Avocado 🥑 TostadasBavette Steak 🥩Raspberry Sorbet & Vanilla with Hibiscus 🌺 Syrup and Cinnamon-Dusted Buñuelo Pastry
I really enjoyed the crab & avocado tostadas and the ice creams, especially with the cinnamon buñuelo pastry which brought something different to the table. Whilst the steak was also good overall, I thought it was a touch under-seasoned. Either way, a fiery kick start to the week!
Do you also enjoy Mexican cuisine? Do you have a thing-to-do on Sunday evenings? 😉 Feel free to let me know in the comments!
The sunlight is finally back in London! Having powered my way through work last night, I decided to treat myself today by visiting Central London. What’s better than eating outside when the sun is out? For lunch today, I visited Duck & Waffle Local by Piccadilly Circus. I had walked past this restaurant many times before, but never tried it until now. Duck is always one of my favourite protein to eat, so it’s really a no-brainer choice for me.
The first dish I tried was a foie gras crème brûlée served with a toasted brioche. I was intrigued by the idea of a savoury take on this traditional French dessert. I particularly enjoyed the silky, smooth texture of the crème brûlée, and the savoury note from the foie gras accompanied well with the creaminess of the dish. Personally, I think I may prefer a thinner caramel on top as it did get slightly too rich and heavy after a couple of bites, but it’s nonetheless quite good.
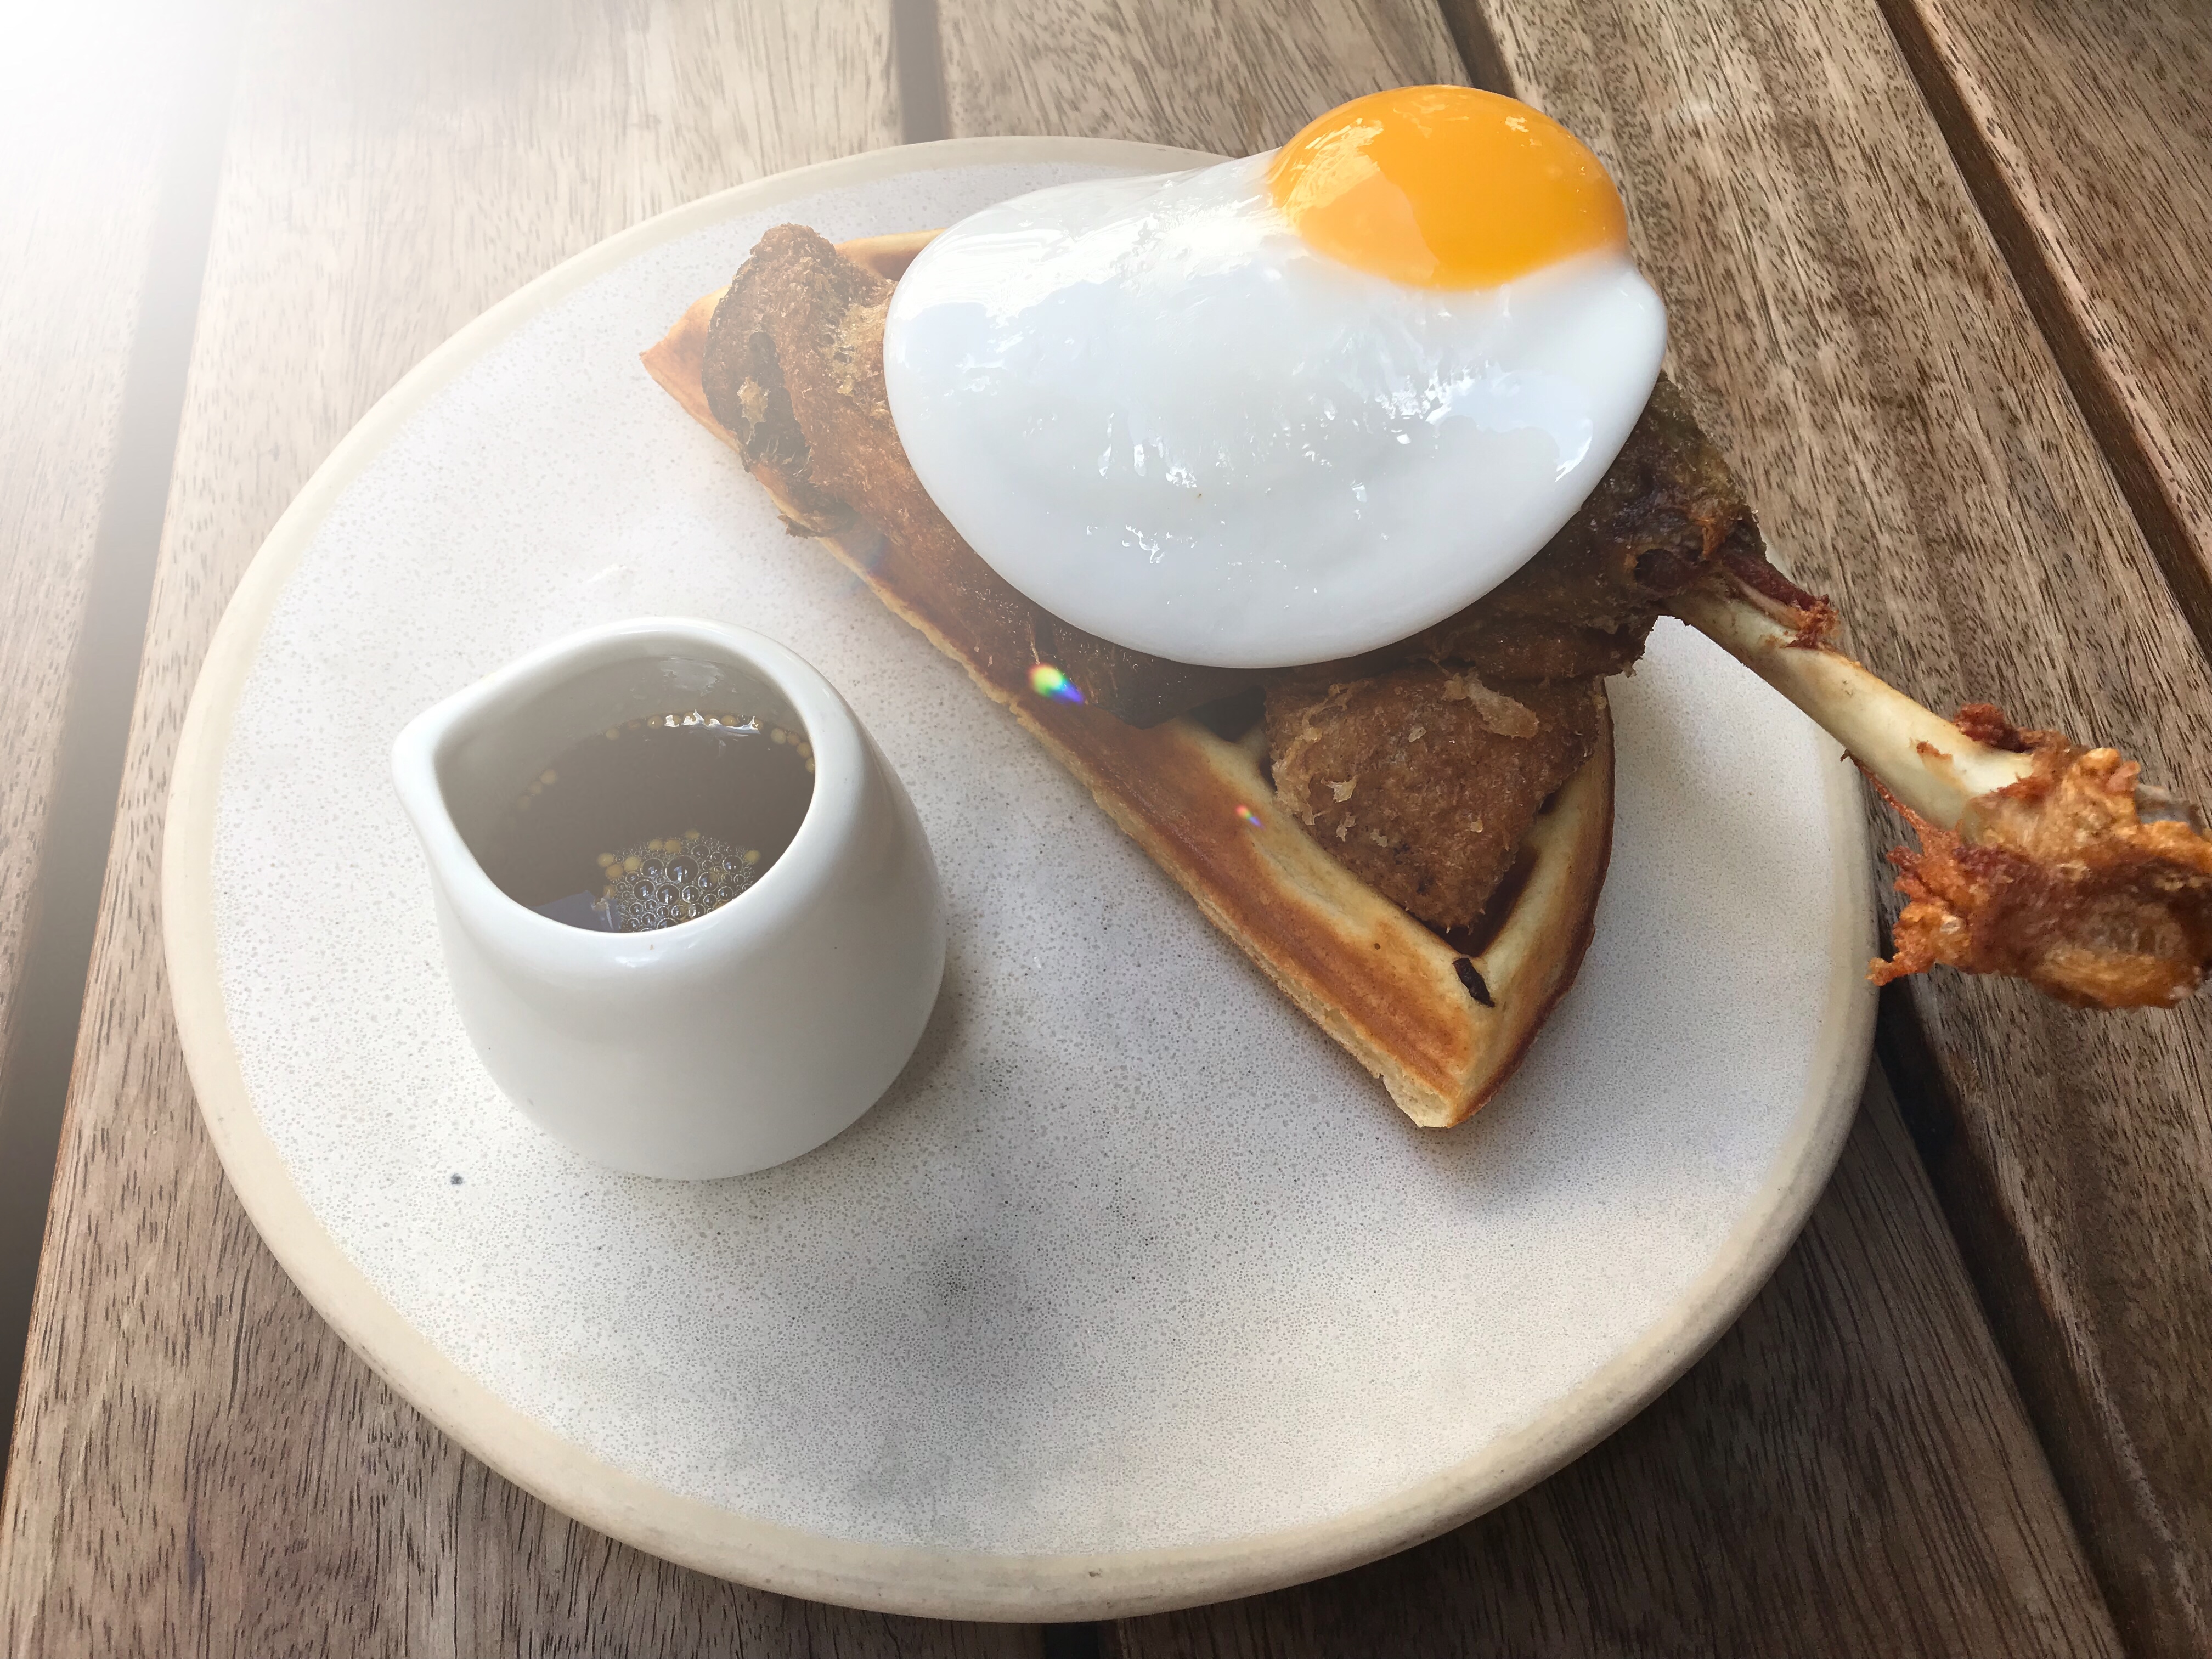
For the second dish, I ordered their signature dish: confit duck leg and waffles with a fried duck egg and mustard maple syrup. This modern, French spin on the American classic was cooked to almost perfection. Waffles were deliciously crispy and the duck was scrumptious when paired with the sweet maple syrup. And the fried duck egg to me was more than a garnish as I felt it added another level of texture and complexity to the overall dish.
Those who know me will know that besides food, movies are another great passion of mine. Today, I was particularly excited coming outside because of the release of Toy Story 4. Like many of you out there, I grew up watching the franchise since I saw the first film when I was around 4 years old. To think of how many years have passed since then, it was almost a scary feeling. So many good and bad moments in the last 20 or so years, it was like a trip down the memory lane in my mind.
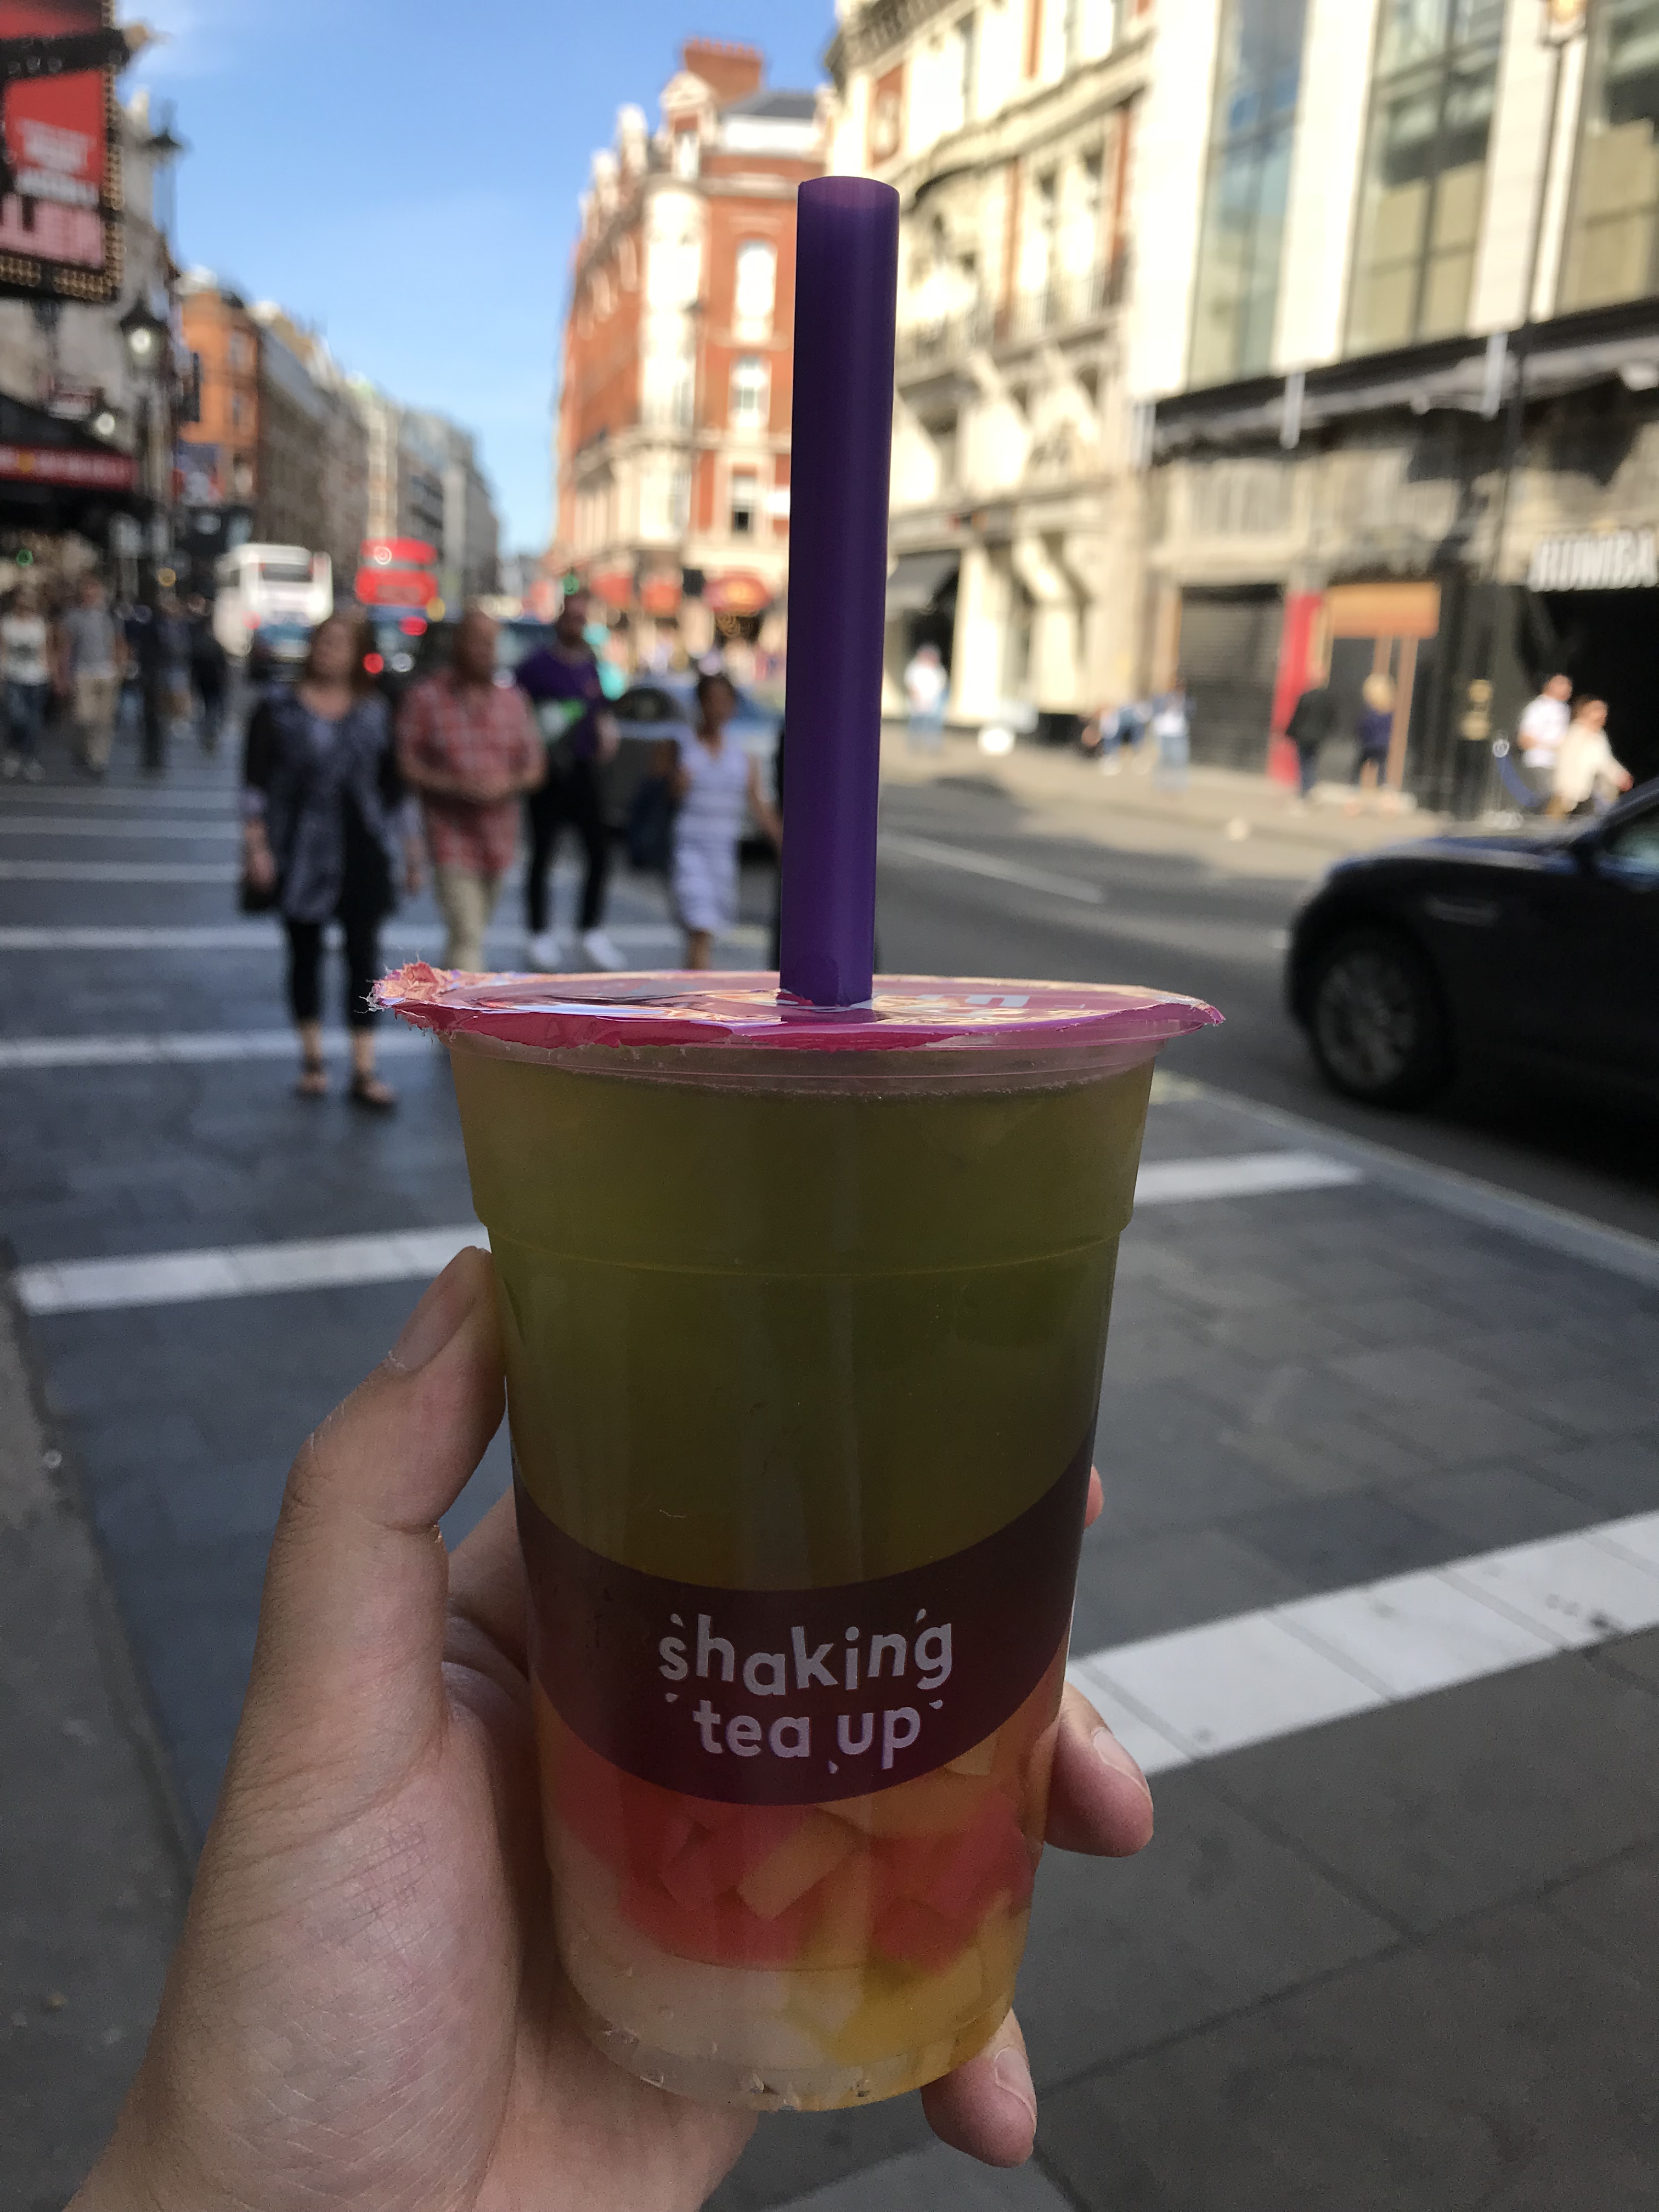
Grabbing a bubble tea before the movie!Long time no see, Buzz and Bo Peep! 👋 (I actually ended up going to another cinema nearby ’cause the ticket in this place was really expensive… 😓)Waiting for the ads to finish before the showing…
Without spoiling the movie for people, I am just going to say it was a lovely film to watch and to see these wonderful characters again brought back so much joy and happy memories! (And to see Woody and Bo Peep reunited for the first time after all these years, it filled me with warmth and hope for the future.)
After the movie, it won’t be like me to not have some more food before heading home, right? So I ended up grabbing a chicken katsu curry and a gelato before riding the bus back.
To quote Buzz Lightyear, here is to another Saturday and ‘to infinity and beyond‘!
‘Last night I dreamed I ate a 10-pound marshmallow, and when I woke up the pillow was gone.‘ Have you ever dreamt about marshmallows? Tommy Cooper once did at the cost of his own pillow. As I am leaning against my pillow, almost half dozed off, I thought I would share the recipe of my homemade marshmallows.
It’s probably unsurprising to know that I am always a big fan of sweet treats, but this is my first time making any kind of confectionary. And surprisingly, these pillowy blueberry marshmallows are rather easy to make. I can say my friends and I had fun eating them while dipping them in our hot chocolate and coffee yesterday. (It’s quite a sticky business though! 😂)
The recipe is adapted from the book ‘Pâtisserie’ by William and Suzue Curley. The recipe starts from making a blueberry purée, but you can also adapt it for other kinds of fruit puréeto create marshmallows of different flavours! 😋
Blueberry Marshmallows
Quantity: 1 tray
Ingredients:
For the blueberry purée:
150g blueberries
15g caster sugar
15ml water
1 tsp lemon juice
For the marshmallows:
110g blueberry purée
10g leaf gelatine
225g caster sugar
135ml water
38g egg whites
Icing sugar, for dusting
Cornflour, for dusting
Method:
1. To make the blueberry purée, place blueberries, caster sugar, water and lemon juice in a saucepan. Bring to boil and crush the blueberries as you are cooking them. Pass the purée through a sieve and set aside.
2. Soak the leaf gelatine in cold water and set aside.
3. Use 110g of the blueberry purée to make the marshmallows. (You can save any leftovers to eat later, for example, putting it in plain yogurt!) Place the purée in a saucepan and bring to boil.
4. Squeeze off any excess water from the leaf gelatine and add it to the purée. Stir until the gelatine is fully dissolved. Set aside.
5. Place the caster sugar and water in a saucepan and heat to create a syrup.
6. In a large, clean mixing bowl, whisk egg whites to soft peaks.
7. Mix the syrup with the purée mixture. Then add it to the whisking egg whites. Continue to whisk until smooth and cold.
8. Mix equal amounts of cornflour and icing sugar together. Sift into a bowl.
9. Line a small baking tray with baking paper (choose one with enough depth). Dust it with the cornflour and icing sugar mixture, saving some for dusting the marshmallows later. Pour the marshmallow mixture into the tray and spread evenly.
10. Place in a fridge for about 1-2 hours, or until set.
11. Once set, cut into cubes of marshmallows and roll in the dusting mixture before serving.
Have a sweet marshmallow dream! (Excuse me as I doze off on my pillow 😴…)
After waking up with a temperature and a runny nose this morning, I must say I didn’t have the best start to the day being bed-bound at home. 😷 Paracetamols and sleep quickly became my best friends. Have you ever felt though the more you sleep, the more groggy you get? (Not to mention the fact that I also need to constantly get up to clear my blocked nose! 🤧)
I finally woke up from my long nap as the rain started to fall outside. However, instead of staying in, I swiftly went for a shower to clear my head since I already made some dinner plans with friends for tonight before this week. I stepped outside, jacket on and umbrella ready in my hand.
Burrata, Smoked Salmon, Olive and Breads
The place we visited was Flour & Grape, not so far from the London Bridge station. (Though it was a bit of a walk, especially in the rain…) The restaurant specialises in fresh, homemade pasta and has a small menu for that reason, though it is definitely one place not to miss out by pasta lovers like me. (On a side note, this restaurant doesn’t take reservations, so come early if you can to avoid waiting in long queues.) My friends and I decided to share several pasta dishes from the menu. (Definitely a reason to have a big party when you visit this place haha!) It was literally like a fun pasta potluck! My favourites were definitely the pork shoulder tortellini and tiger prawn trottole thanks to the rich butter sauce and prawn bisque that were served with the pasta. Certainly was glad that my appetite wasn’t affected by the cold!
Pork Shoulder Tortellini, Truffle Taglierini, Beef Ragu Fettuccine, Tiger Prawn Trottole and Red Pepper Ricotta Mezzaluna
As my friends and I enjoyed the good food and chatting about all the things in our lives (work, family and men LOL…), I realised I didn’t feel so ill after all. I guess good food and friends are the best cure to any sickness you have! 😊 (We also went for coffees and have some of my homemade marshmallows after. More on that later!)
I would believe, for many of you, bread is a staple item in your house. Breakfast, lunch or dinner… you can do no wrong with a piece of bread with your meal. Sourdough, in particular, appears to be a popular choice as of late.
While I am not a massive fan of this artisan bread, I was intrigued by its unique preparation. For those of you unaware of this, sourdough requires a starter. Sourdough is not made with active or dry yeast and instead uses wild yeast. The sourdough starter is essentially a pre-ferment made from mainly flour and water, and a way to cultivate the wild yeast in the flour.
The recipe I used for the sourdough starter comes from BBC Food. (Link: https://www.bbc.co.uk/food/recipes/sourdough_starter_22976) The starter will take a few days to be ready, so do start early if you want fresh sourdough bread by the end of the week.
Once the starter is ready, you may make the sourdough bread. (Link: https://www.bbc.co.uk/food/recipes/how_to_make_sourdough_08213) The remaining procedure is very similar to making regular breads otherwise. One of my colleagues is actually quite fond of sourdough himself and I recommended this recipe to him.
Now, I tend to like to dip my sourdough in garlic olive oil and salt before eating, or have it as an open sandwich. How do you like your sourdough bread? Let me know in the comments!